The Ultimate Guide to Cutting-In Techniques for Perfectly Straight Lines
How to Master Cutting-In for Perfect Edges Around Trim and Corners
Learn How Lighting, Angles, And Patience Can Make Or Break Your Edgework
All perfect paint finishes start weeks before the roller ever hits that wall. The art is in the details—and details are exactly what it takes to perfect the art of cutting in for sharp lines. This is the craftsmanship that makes the average paint job into the smooth professional finish that complements the room’s overall elegance and harmony.
At Paint Heroes, our skilled team has refined the art of cutting-in to perfection. With years of training and hundreds of successful residential projects under our belts, we recognize that precise painting is the difference between a wall that’s fresh out of the paint can and one that’s professionally designed. From repainting just one accent wall to completely redoing your entire home, we at Paint Heroes carefully approach each project with the identical attention to detail, care, and craftsmanship.
If you’re eager to discover the magic of what a perfect edge can achieve for your home, discover how our interior house painting service can be done by professional interior painting experts who imbue each stroke with skill and finesse.
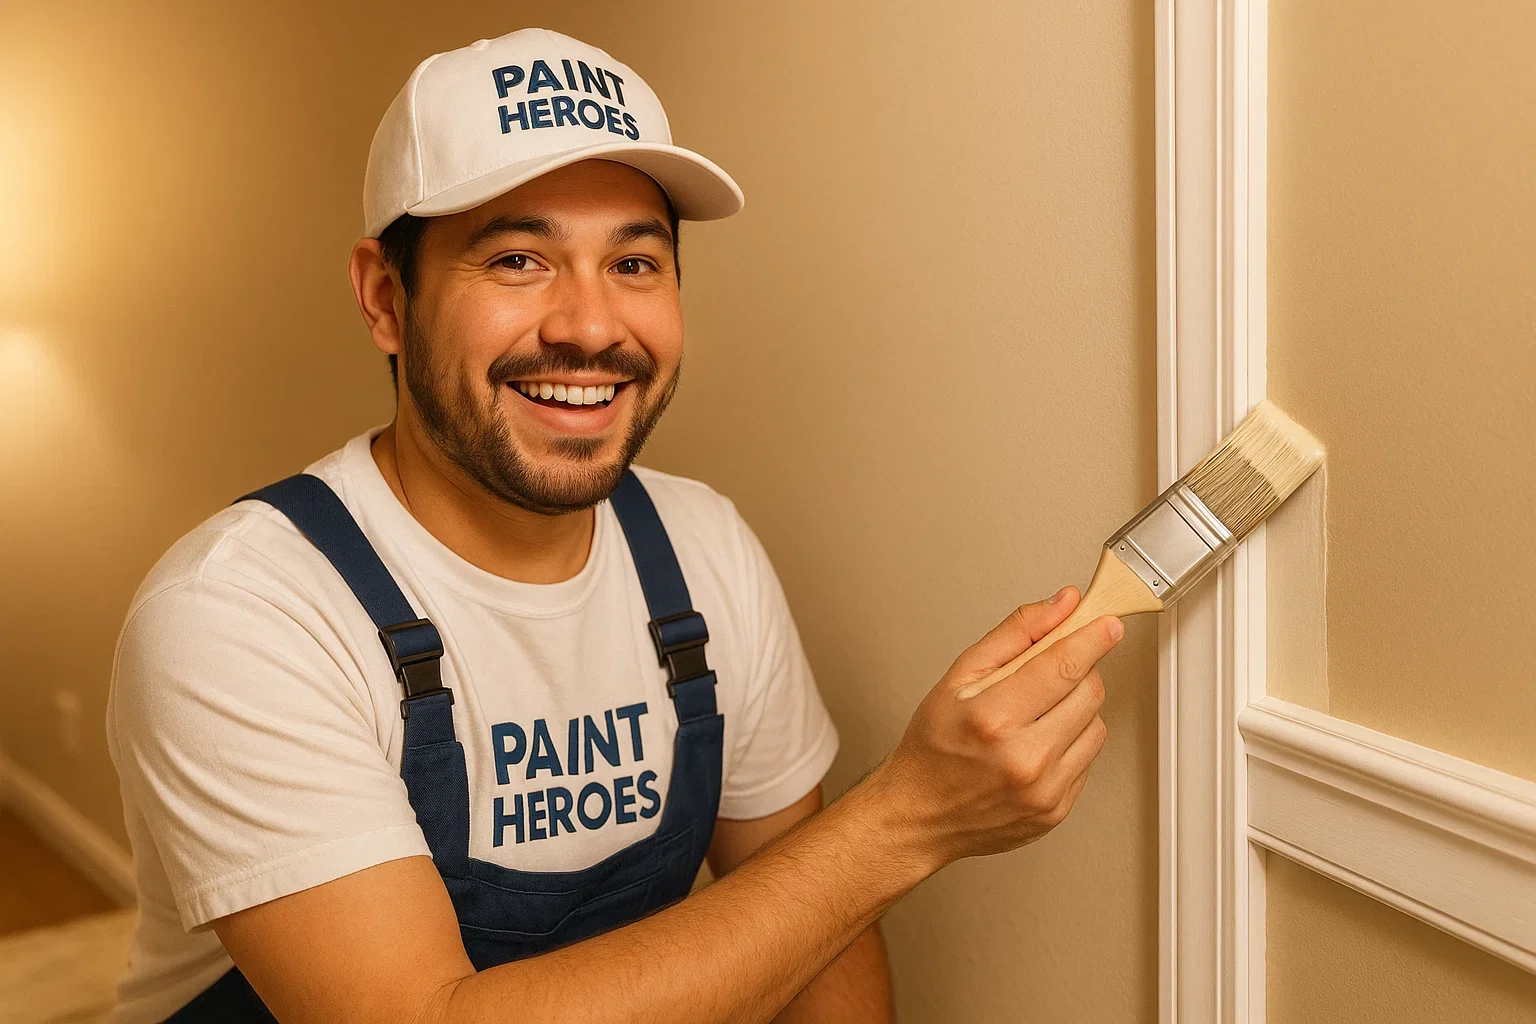
Cutting-in is something more than just one painting technique—it’s the beginning of the professional finish. It’s the method of painting sharp, straight lines in areas where edges between colors or surfaces exist, like walls and ceiling areas, or corner and trim areas.
A professional understands how to whip out fine lines without having to depend enormously on painter’s tape. These fine lines give colors the appearance of starkness, create thickness in the room, and define the painter’s skill and mastery. It’s an art that involves patience, a steady movement, and attention to detail—abilities that our professional residential painters at Paint Heroes excel at after years of hands-on exposure.
This method also provides permanent results. The paint won’t ever bleed, crack, or peel once you do it correctly. The result is a surface finish that remains clean and clear for the life of the paint.
The Key Tools for Success in Cutting-In
Pull any pro painter in, and he’ll tell you the right equipment makes all the difference. Cut-in requires finesse, and that includes brushes and supplies made with the intention of providing control and accuracy.
Here’s what we go by:
• Angled sash brushes (2–2.5 inches): They provide cleaner management during movement at edges and corners.
• Synthetic bristles of superior quality: They contain paint consistently and minimize streaks.
• Smooth painter’s pail: A petite, comfortably held container facilitates the simple and repeated reloading of the brush.
• Premium paint: High quality paint spreads evenly and resists drips or drag marks, which is crucial for achieving straight lines.
Quality painters recognize that the investment in the appropriate equipment provides lasting quality. Every brushstroke makes the difference, particularly in making edges that determine the entire work.
The actual magic behind the in-cutting techniques of sharp lines is the way the brush is handled. The trick is less about having a steady hand it’s about the pressure, the movement and the timing.
Here’s how professional painters achieve flawless accuracy:
Hold the brush like a pencil to maintain full control without excessive pressure.
Churn up the lowest third of the bristles excess paint leads to drips and unevenness in lines.
Begin with the tip pointing in the direction of the line keeping it moving in even strokes along the edge.
Lightly skin the paint thinly for an even flawless transition of colours.
It’s this balance of skill and patience that provides sharp, straight lines that render the completed space well balanced and professional-looking.
Painter’s Tape vs. Freehand Cutting: When to Use Each
Painter’s tape is excellent equipment—but it’s not the solution all the time. Although it can assist newbies in having the creative guide visually, it may also give uneven results or peel off if improperly used.
Even professional painters tend to be liberal in the use of tape because house painting requires moving back and forth frequently. But tape serves some purposes:
• While developing patterns or multi-colored designs.
• When painting over uneven or textured surfaces.
• When you’re working near sensitive materials such as wallpaper or tile.
The trick is to tape judiciously not in lieu of technique, but in conjunction with it. Putting light taping and expert cutting-in together provides the ultimate balance of guidance and restraint.
Lighting and Positioning: Visualizing the Line Before You Paint It
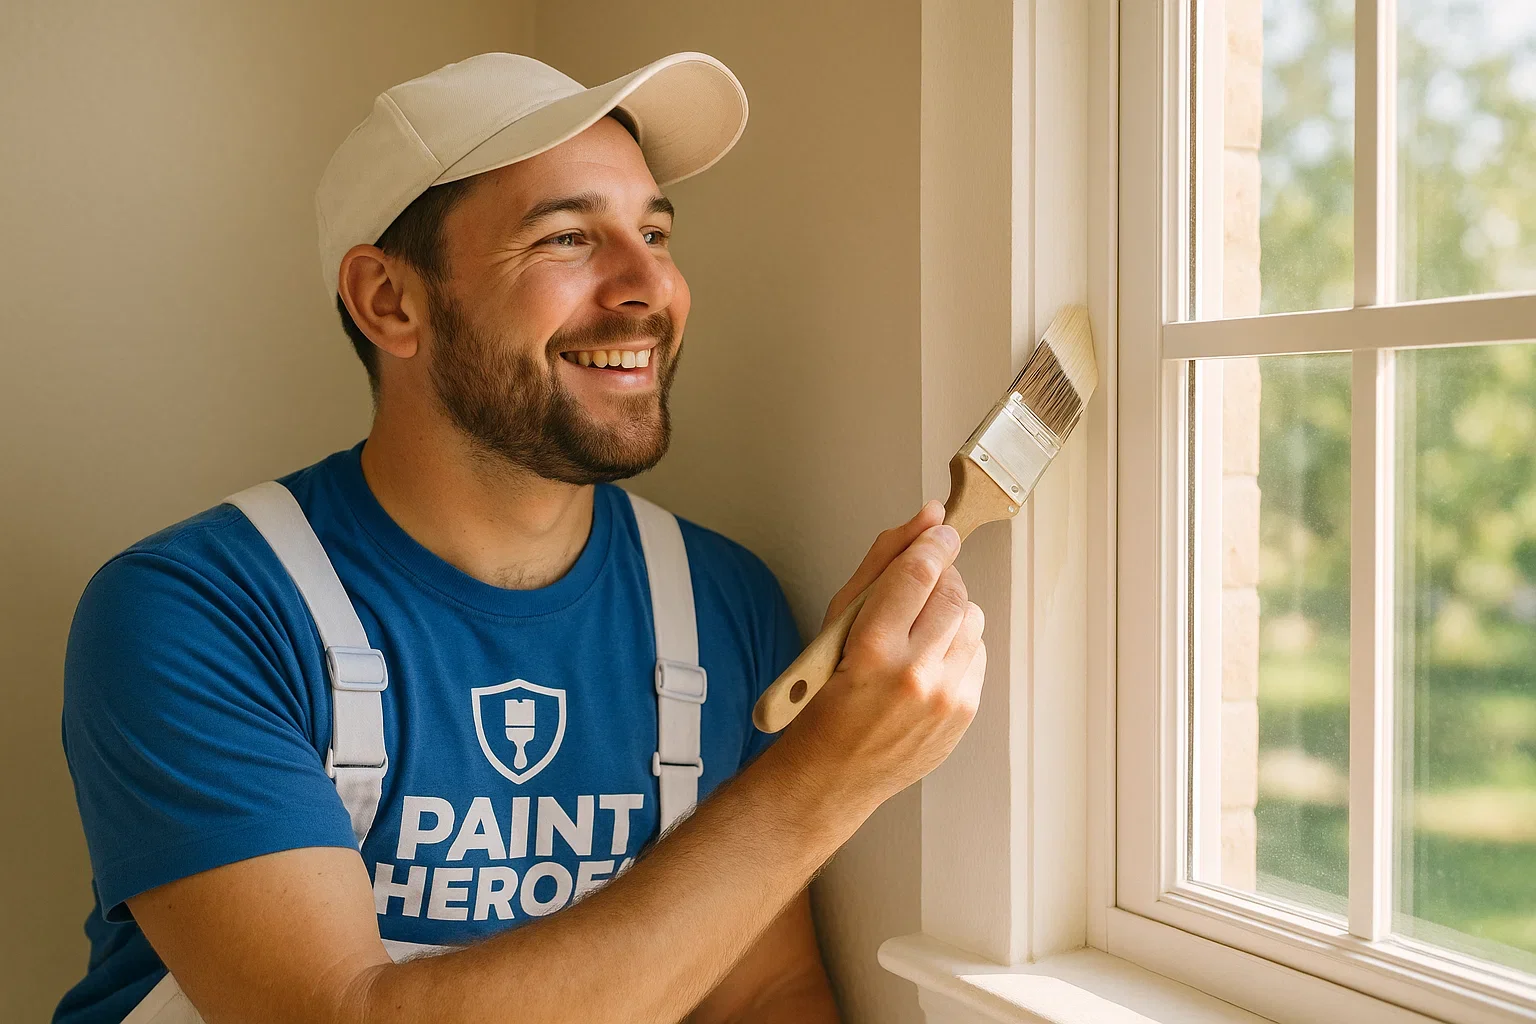
Lighting may be the one making or breaking your cutting-in work. Shadows, glare, or low light may warp the edge, making it difficult to achieve a sharp line.
Prudent painters always ensure maximum visibility prior to commencing:
• Position lights at an oblique angle to emphasize edges and disclose flaws.
• Exclude severe overhead lighting, which collapses depth and makes it difficult to trace lines.
• Apply in natural light whenever you can for actual color accuracy.
It’s simple but real; painting in the appropriate lighting conditions makes all the difference in the clarity of your lines and the finish of your project.
Common Cutting-In Errors and How to Overcome Them
Even seasoned DIY painters may develop patterns that create messy edges. Here are some of the most frequent mistake and how to prevent them:
• Overload the brush: Excess paint causes the paint to drip and uneven coating.
• Short-cutting wall surface preparation: Dirt, grease, or old paint prevent paint coverage.
• Chasing the process: Cut-in involves patience smooth, regulated motions beat speed in the long run.
• Not blending: Not blending your brush strokes with the strokes of the roller can create lines visible once the paint is set.
At Paint Heroes, our house painters emphasize preparation and consistency because that’s what sets a professional finish apart. From sanding surfaces to layering the paint correctly, every detail matters.
Advanced Cutting-In Procedures for Ideal Finish
Up and coming painters pros have some hightech tricks in their trick bag that ensure the following result:
• Grout in short sections: Grinding in excessive areas at once may cause dry overlap lines.
• Have wet edge: Having fresh paint allows for smooth blending and imperceivable joints.
• Overlap roller areas slightly: This prevents color variations and texture contrasts.
• Apply slow, deliberate strokes: The sharper the finish the more in control you are.
These fine details become quite significant in making big impressions with edges that appear fresh, organic and professional.
The Professional Advantage: Why Experience Always Wins
Cuttin’-in is something that requires time to learn how to do well, and the experts do both skillfully and expediently. Years of education, constant technique, and extensive knowledge of the product enable the specialists to give perfect lines and longer-lasting finishes.
At Paint Heroes, we go at every wall with respect, treating every home like it’s our own home. Knowing how light, texture, and color interact and how attention to detail can turn a simple paint project into a statement of quality.
For homeowners who are prepared to elevate their space, we offer residential painting services aimed at providing precise expertise and photobooth-quality finishes. Learn how our team perfects every element with established exterior painting specialists who introduce skill and devotion to each surface that comes in contact with them.
FAQs Regarding Cutting-In Techniques for Crispy Lines
1. How do pros do tapeless straight lines?
They depend on a steady hand, tilted brushes, and practiced hands. Through practiced brush control and steady pressure, pros achieve flawless lines with ease.
2. Can I cut in before or after I roll?
Always cut in before you roll. This ensures the roller merges the edges smoothly without any visible brush lines.
3. What kind of paint is best for clear lines?
Better paints with higher finishability allow for easier regulation of the application and sharper lines. The pros at all times utilize top-of-the-line low-splatter compositions for detail work.
4. Can I do fine areas with the smaller brush?
Yes! A 1-inch angled brush is perfect for small spaces, fine trim, or slim borders. Just be sure it’s of professional quality in order to get clear edges.
5. What is the best method for preventing paint bleed with tape?
Tape the tape edge with the thinnest coverage of the base color of the wall prior to putting the finishing color. This closes the boundary and stops the paint from getting underneath.
Backward Accuracy Painting That Elevates Every House
A well reasoned cut line doesn't do much more than it makes the wall appear cleaner it totally transforms the appearance of your room. Clean lines create definition contrast and professional appearance that instantly makes your home better.
At Paint Heroes, we believe fine detail is the essence of true craftsmanship. Our home painters are trained to pay attention to every detail with care and finesse so every corner and every edge looks smooth and classy.
If you're ready to learn how old world skill and craftsmanship can elevate your space schedule your next project with your professional residence paint team through Chicago residence paint expert and enjoy the confidence that comes with perfection.
To discover the latest professional paint methods and tools the Fine Home Building Expert Painter's guide is full of valuable opinions on how the pros get it done the right way an interesting read for any woodworker who appreciates craftsmanship and design.


