Drywall Mud Showing Through Paint (How To Fix)
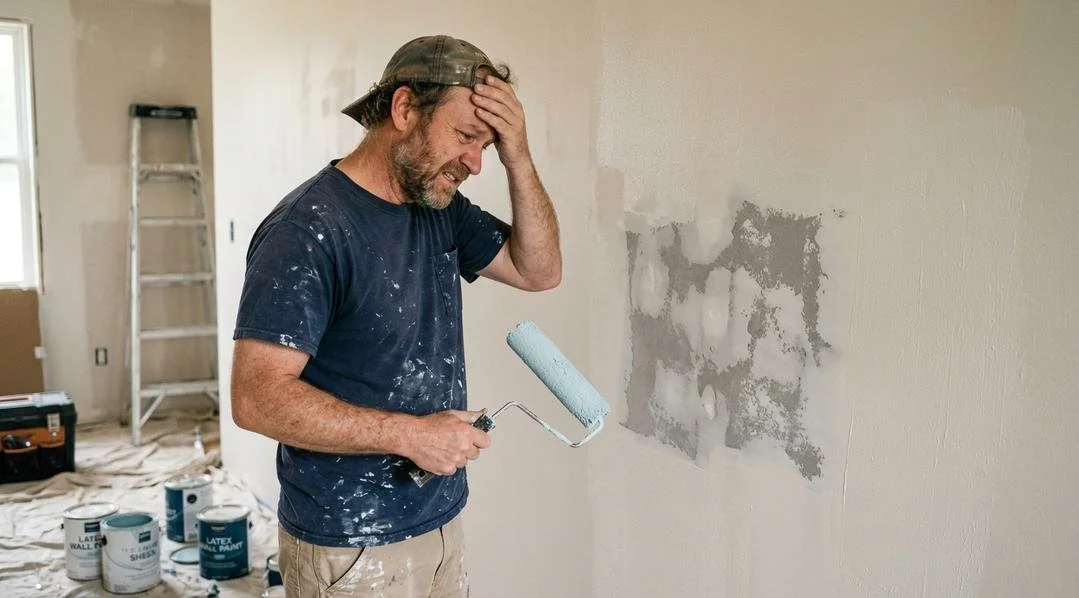
You finally finished patching your drywall, grabbed a paint roller, and stood back to admire your work.
Then you noticed it. The repaired area is still visible.
Maybe it's a different shade, maybe the seams are showing, or perhaps the patch has a strange dull look that stands out from the rest of the wall.
The good news is that this is a common issue, and it's usually caused by a few simple mistakes during the finishing process.
In this guide, you'll learn why drywall mud shows through paint, and how to fix it step by step.
Why Is Drywall Mud Showing Through Paint?
A repaired wall can look perfectly smooth before painting, then suddenly show obvious patches, seams, or dull spots once the paint dries. In most cases, the problem comes down to preparation.
Here are the most common reasons why your drywall mud is showing through paint:
Drywall mud wasn't primed before painting
The repair wasn't sanded smooth, leaving ridges, dips, or rough edges that paint makes more noticeable.
The joint compound shrank as it dried
Too little joint compound was applied
The repaired area has a different paint sheen because the surface absorbed paint unevenly
The paint coverage wasn't enough
Strong natural light or bright interior lighting is highlighting imperfections that are hard to notice before painting
The texture on the repaired area doesn't match the rest of the wall
Also Read: Can You Paint Satin Over Eggshell?
How to Fix Drywall Mud Showing Through Paint
The good news is that fixing visible drywall mud usually isn't difficult. Most repairs only take a little patience and a few basic tools.
Here’s how to do it:
Step 1: Inspect The Wall
Start by figuring out exactly what you're looking at.
Is the repair raised above the wall? Does it feel lower than the surrounding surface? Or does the texture seem smooth, but the color looks different?
A flashlight can be surprisingly helpful here. Hold it against the wall at an angle so the light shines across the surface instead of directly at it.
Side lighting makes bumps, dips, and uneven sanding much easier to see.
If the wall feels smooth but the repaired area has a different appearance, the issue is probably paint absorption rather than the drywall work itself.
Step 2: Sand The Surface
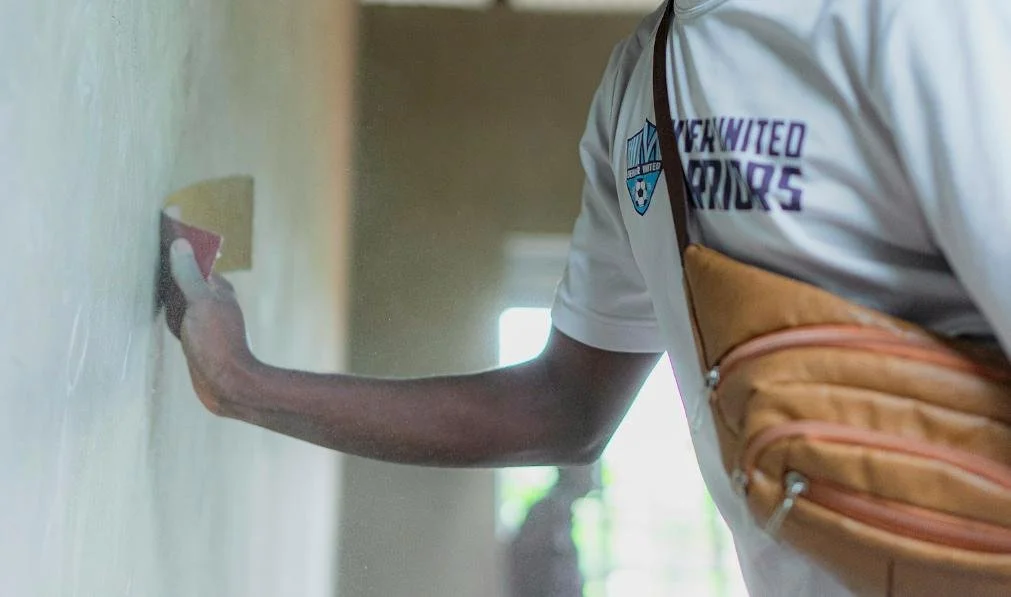
If you notice rough edges, raised areas, or visible lines, lightly sand the repair with fine-grit sandpaper. Use something between 150 and 220 grit.
Also Read: Your Guide to Choosing the Right Primer
Don't press too hard though.
Just smooth the surface and feather the edges into the surrounding wall so the transition becomes almost invisible.
After sanding, wipe away every bit of dust with a damp microfiber cloth or tack cloth.
Even a thin layer of dust can affect how primer and paint stick to the surface.
Step 3: Apply Another Skim Coat (If Needed)
If sanding reveals that the repair is still too low or the seam remains visible, apply another thin skim coat of drywall mud.
Keep this layer very thin. It's much easier to build up several light coats than it is to sand down one thick application later.
Use a wide drywall knife to feather the edges several inches beyond the repair.
This creates a gradual transition that disappears once painted.
Then let the mud dry completely. Trying to rush this step often leads to cracks, shrinkage, or uneven results.
Step 4: Sand Again
Once the skim coat has fully dried, lightly sand the surface again until it feels perfectly smooth.
Run your hand across the repair with your eyes closed.
Your fingertips will often detect tiny imperfections that your eyes miss.
If possible, shine your flashlight across the wall one more time. It's much easier to fix a small flaw now than after another coat of paint.
Step 5: Prime The Repair
This is the step many people skip, and it's usually the reason drywall mud shows through paint in the first place.
Primer seals the porous joint compound so it absorbs paint evenly. It also creates a consistent surface across both the repaired area and the surrounding drywall.
A quality drywall primer works well for most repairs. If you're covering stains or older repairs, a stain-blocking primer can also be a good option.
Allow the primer to dry completely before moving on to paint.
Giving it enough drying time helps create a much more uniform finish.
Step 6: Repaint The Wall
Apply two thin, even coats instead of one heavy coat.
Thin coats level out better and create a smoother appearance.
If the repair is in the middle of a wall, repainting the entire wall usually produces the best results. Spot painting often leaves a slight difference in color or sheen, even if you're using the exact same paint.
Take your time with the roller and keep a wet edge as you work. That helps the paint blend evenly from one section to the next.
Also Read: Everything Included in Professional House Painting
Can You Paint Over Drywall Mud Without Primer?
Do not paint over drywall mud without primer.
Fresh drywall mud absorbs paint much faster than finished drywall. Without primer, the repaired area usually ends up looking dull, patchy, or lighter than the rest of the wall.
Even several coats of paint may not completely solve the problem because the surface underneath is still absorbing paint unevenly.
Paint-and-primer combination products aren't always enough for bare drywall mud either.
They work well on previously painted walls, but fresh joint compound usually benefits from a dedicated primer first.
If you've already painted and the repair still stands out, don't keep adding more paint in hopes that it will disappear. In many cases, sanding lightly, applying primer, and repainting will give far better results than piling on extra coats.
Bottom Line
Drywall mud showing through paint is one of the most common finishing problems homeowners run into, and thankfully, it's usually easy to fix.
Most of the time, the issue comes down to skipped primer, uneven sanding, or a repair that needs one more skim coat.
The key is to slow down and focus on the surface before reaching for the paint.
A smooth repair, proper primer, and two quality coats of paint can make the patched area virtually disappear.