Preparing a Room to Be Painted: Expert Methodologies to Achieve the Perfect Finish
How to Prepare a Room Before Painting: Secrets from Professional Painters
Room Painting Preparation: Professional Steps Every Homeowner Should Know
Here at Paint Heroes, we’ve built our reputation on one word of honesty: preparation is the difference between a amateur painting job and a pro finish. Have you ever wondered how to prepare a room to paint? Well then you’re already halfway to success. We’re not residential painters—although that’s our job description. We’re craftsmen, we're preparers, we're perfectionists who know that a perfect wall isn’t created with paint, but with preparation before ever taking a brush to it.
We want to make one point crystal clear: preparation is not negotiable. It’s the ingredient of every stunning interior transformation. For a hundred years, Paint Heroes has been the byword of homeowners who demand results that last, from perfectly smooth surface preparation to safe, green cleanup. We’ve seen all hang-ups—grimy surfaces, peeling finishes, inaccessible corners—and we exactly how to turn each into a blank canvas ready to be painted.
This tutorial will walk you through the pro process of room preparation, and we'll share with you the insider knowledge that we utilize on a daily basis with our painting service. By the conclusion of this tutorial, you'll know precisely what to do, why you're doing it, and how pro painters make your investment yield magazine-worthy results.
Why Preparing a Room Is Bigger Than the Color of Paint
Most homeowners dawdle over paint colors and forget that even the perfect shade will look sloppy on a poor primed wall. So why is preparation key?

Durability: Good priming and washing enable paint to adhere better and last longer.
Appearance: Patched, sanded, and smooth speaking walls will look smooth with painting.
Efficiency: Surfaces properly primed need less coating, thus lowering costs and saving time.
Being veteran painters of houses, we always recommend to our clients: “Paint is only as good as the surface it’s on.” That’s why preparation is the key to our process—it saves your time, money, and the heart of your home.
Step One: Clearing and Securely Preparing Your Space
Preparing a room to paint is step one of how to prepare a room to paint. The painters of Paint Heroes handle your home with the same respect we'd handle our own. Here's how that's done:
Clear furniture: Remove or move out chairs, tables, and ornaments. For large pieces, go to the center and cover with plastic sheeting.
Save floor: The drip protection with drop cloths, rosin paper, or plastic protection of floor surfaces saves.
Cover fixtures: The switches, outlets, ceiling fan, and vents should be covered using tape or plastic fixtures covers.
They know that to cover your domicile is to be just as important to painting your rooms. Omitting this step can turn a new project of painting your rooms into a mess of cleanup.
Step Two: Cleaning Walls and Surfaces Like a Pro
Grime and dirt may not be serious enough, but they ruin paint holding. Our crews at https://www.paintheroes.com always start with appropriate cleaning process:
Dust removal: Wipe down walls with a microfiber cloth or vacuum brush.
Grease and stains: Kitchen, bathroom, and child rooms often need a delicate detergent wash.
Mold or mildew: Retard with a cleaning solution before priming to prevent rebound.
Fresh paint should never set fast into dirt. Spotlessly cleaned surfaces offer perfect preparation for durable finishes—a characteristic that separates professional Outside painters with moonlight by weekend enterprises.
Step Three: Repairing, Sanding, and Smoothening Your Walls
Smooth wall, pretty wall. Before paint ever touches its face, our man is dealing with defects:
Fill nail holes or crack with joint compound or spackle.
Sand patched area until patches disappear and blend with the wall.
Seek starting to flake paint and scratch off.
Such degree of detail can be tedious, but that’s the way that smooth finish owners want. Contrast that with face cream before make up routine—prep makes perfect finish.
Step Four: Priming for Professional Results
One of the better overlooked steps of prepping a painting room is primer. Many Do-It-Yourselfers don't want to bother with using it, but painting experts always make use of it.
They insure:
Good paint adhesion to the substrate.
Uniform coverage, specifically covering over light shades to dark shades.
Long lasting protection against chipping or peeling.
At Paint Heroes, primers are selected by paint and wall conditions and our process is tailored to your project. Here’s where experienced house painters truly hold their ground.
Step Five: Taping, Edging, and Careful Details
Nothing that defaces fresh finish of a wall is fuzzy edges. That's why the final preparation step is taping with precision:
Painter's tape near trim, windows, and baseboards.
Border tools to achieve sharp joints between ceiling and wall joints.
Verify seals to prevent bleed through.
These small things make the difference between good and great. Our customers let us know that it’s this obsessiveness with detail that’s made us their go-to painting team Paint Heroes.
Professional Insights: The Experts' Secret of Preping Rooms Earlier
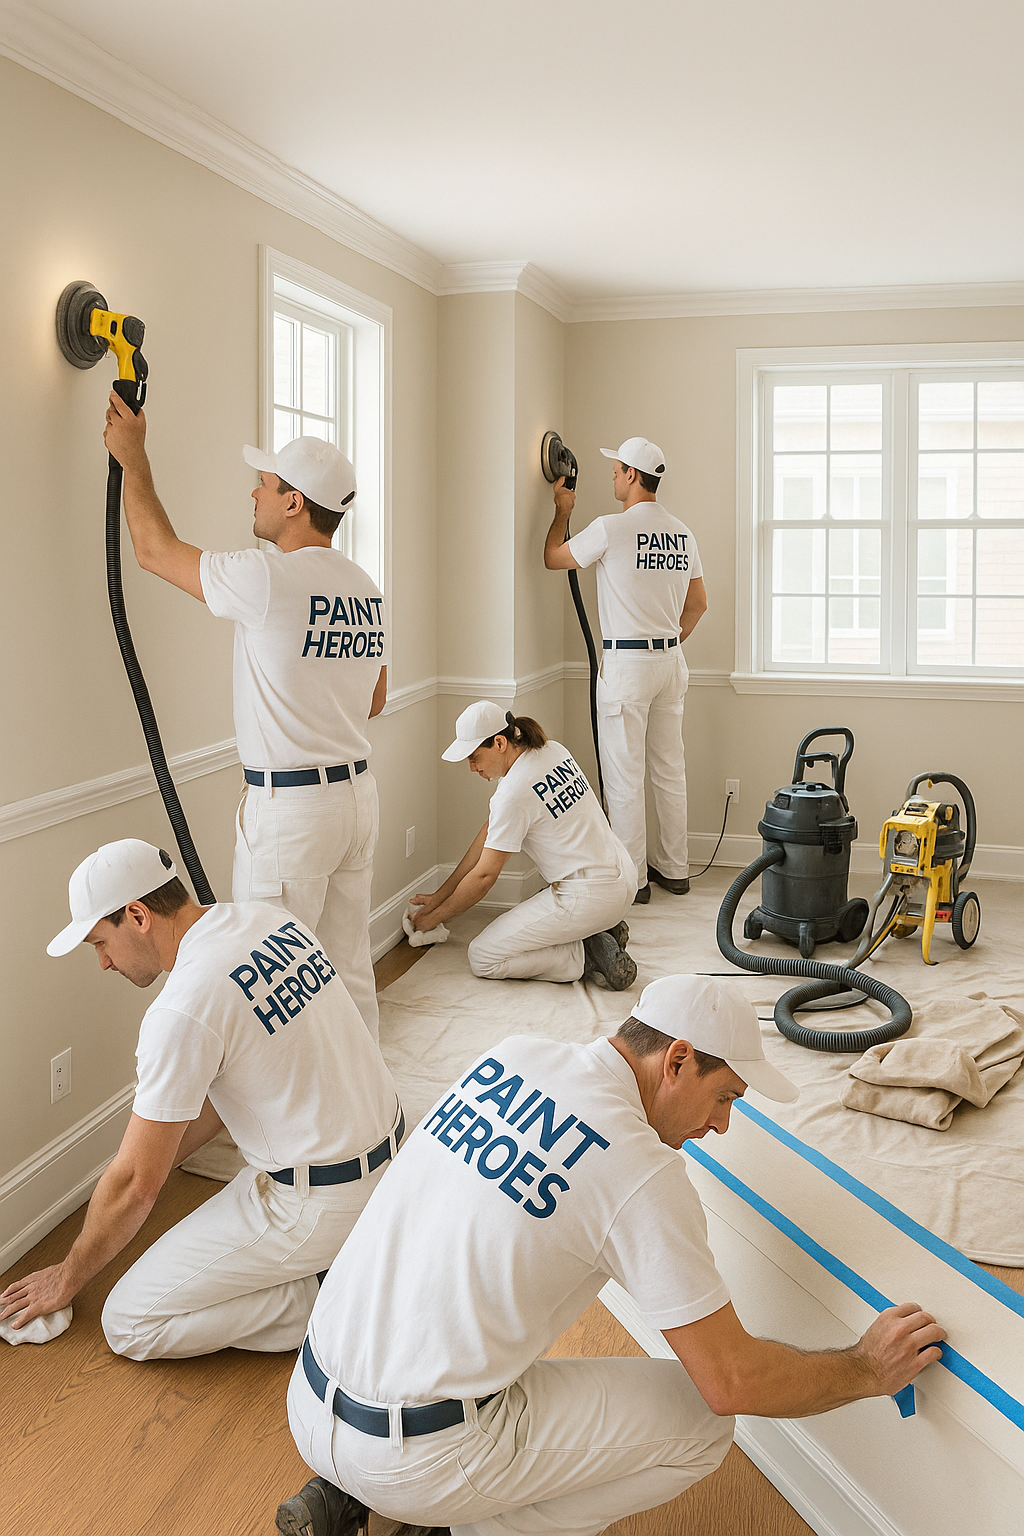
In light of how house painters can get entire rooms ready this quickly? It’s not magic—it’s technique:
Teamwork: Unload different specialists of cleaning, sanding, and taping.
Equipment: High-class sanders, vacuum cleaners, and sprayers scurry out.
Experience: Literally knowing exactly where to go to target trouble spots.
That is why homeowners would rather choose professional painting services rather than uglifying weekends with grit, tape, and drop cloths.
Responsible Painting Prep: How Paint Heroes Keeps It Green
Prepping is not only about before, but about being responsible for the after too. The Paint Heroes is concerned with sustainable planning, including recycling remaining paint to proper dispose. For example, if you have to dispose of unused paint, services including Earth911’s recycling directory will get you to close-by drop off locations. Read more by going to
We believe that being a pro means protecting your home, your walls, and the planet. Read more about eco-friendly paint disposal at Earth911.
FAQs: Your Most Frequently Asked Questions About Preparing a Room to Paint
Q: Can I skip cleaning walls if they look clean?
Not recommended. Oils and dust invisible to the eye will prevent paint adhesion. Always clean is step one.
Q: Do I absolutely need primer on each and every wall?
Yes, particularly if you're painting a new color or hiding patches. Primer prevents expensive retouching down the line.
Q: How long can we really get with seating?
A professional team takes a day or less to prepare a standard bedroom. Do-it-yourselfers should allocate a whole day to account for each step. A: Taping is not really necessary with a steady hand. Even the smoothest hands can make use of tape. Pro stylists use tape because it will always provide nice, sharp edges. Q: Why hire a painting contractor instead of DIY? Because pros bring knowledge, speed, and a promise. With Paint Heroes, you get perfect preparation and lasting results.
All Set to Revolutionize Your Room with Painting Heroes?
Knowing how to ready a room to paint is the secret to having walls that you will be happy with for years to come. Preparing however requires experience, patience, and equipment—that’s just what the painters of houses here at Paint Heroes provide to our clients day in and day out. From covering your furniture to priming your walls, our experienced painters of houses handle the finer points while you don’t. When you choose us, you’re choosing more than color on a wall—you’re choosing craftsmanship, confidence, and concern. Your vision room starts with proper preparation. Let us here at Paint Heroes take you by bare walls to finish that’s stunning. Call us now, and find out the meaning of true professional painting service.
Expert Painting Insights: Transform Every Surface with Paint Heroes
Discover how professional painting methods, materials, and maintenance tips enhance beauty, durability, and value in every home.
How Much Does Painting a Car Cost?
Why Are Men Painting Their Nails?
How to Prep a Room for Painting
How Much Does Interior Painting Cost?
How to Prep Cabinets for Painting
How Long After Painting Can I Sleep in the Room?