Can You Paint Over Chipped Paint? (Explained)
Chipped paint can make any wall, ceiling, or piece of furniture look older than it really is.
When you spot those peeling or cracked areas, it's tempting to grab a paintbrush and cover everything with a fresh coat. It seems like the quickest solution, but that doesn't always lead to the best results.
The good news is that you can paint over chipped paint, as long as you prepare the surface first.
A little extra work before painting can help the new coat stick better, look smoother, and last much longer.
In this post, you'll learn if painting over chipped paint is a good idea, what can happen if you skip the prep work, and the simple steps to get a clean, durable finish.
Can You Paint Over Chipped Paint?
Yes, you can paint over chipped paint, but you must scrape, sand, and prime the area first to prevent the new paint from peeling. Painting directly over loose chips causes the new layer to crack and fail.
If you skip the prep work, the fresh paint will only stick to the unstable paint underneath. As that old paint continues to lift, the new paint comes with it.
It might look fine for a little while, but it won't stay that way for long.
Proper preparation creates a stable surface that gives the new paint something solid to bond to. The result is a smoother finish, better durability, and far less chance of the paint peeling again soon.
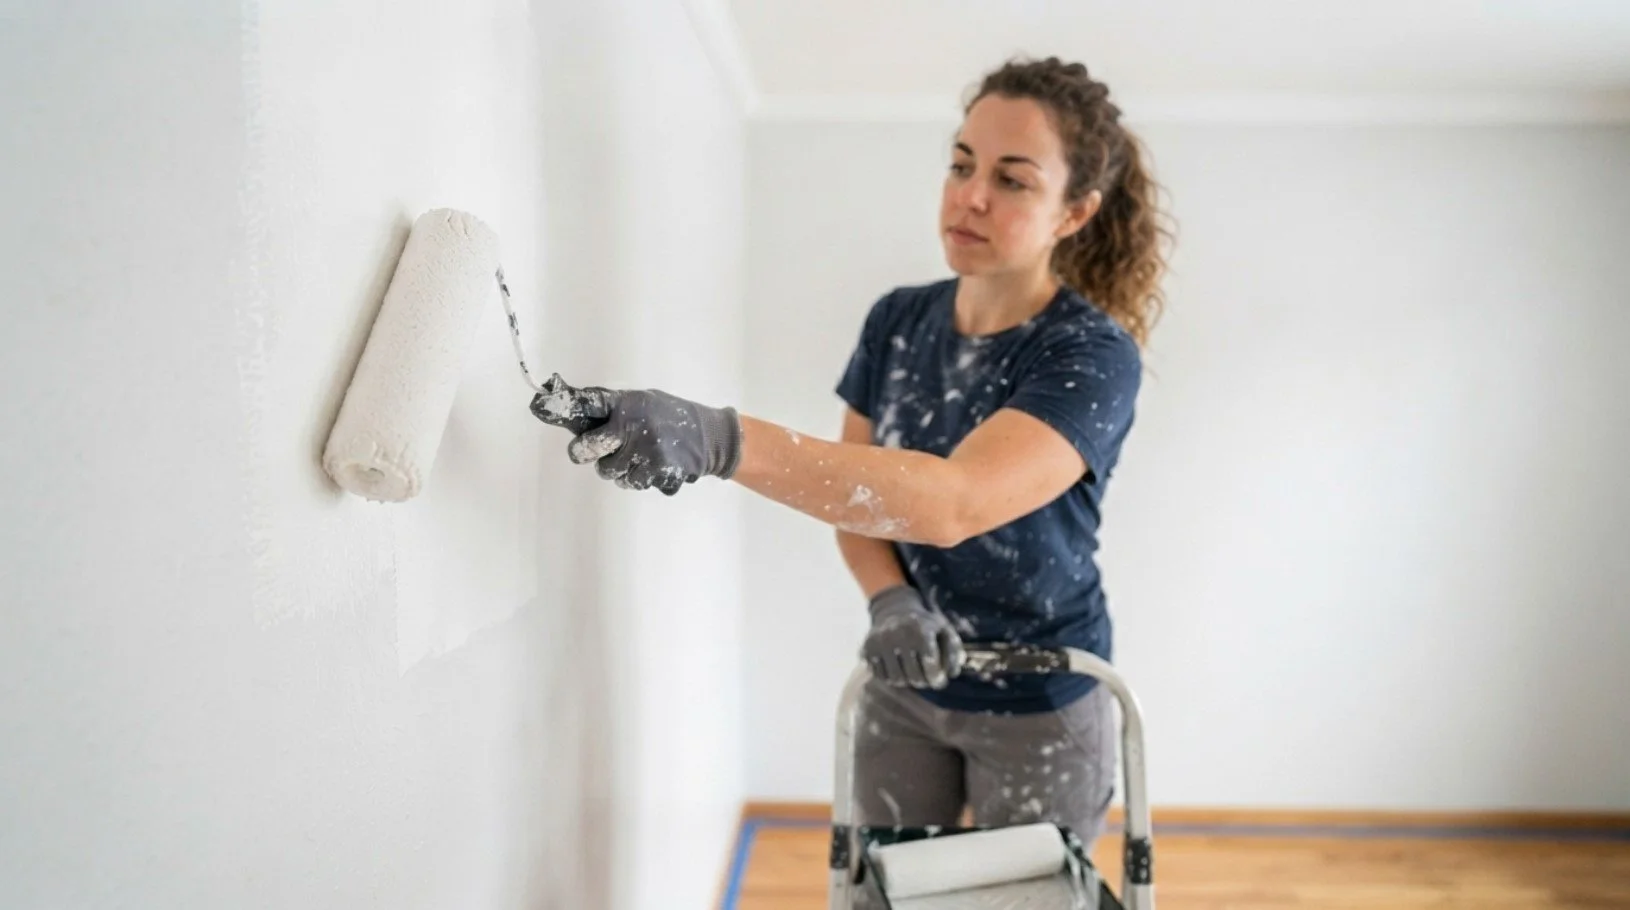
And the amount of prep depends on the condition of the surface. A few small chips are usually easy to fix. Larger damaged areas simply take a little more time and patience.
Also Read: Painting From A 5 Gallon Bucket
What Happens If You Paint Directly Over Chipped Paint?
Painting over chipped paint without fixing it first usually causes more problems than it solves.
At first, everything might look better because the fresh coat covers the color differences. But once the paint dries, the flaws often become even more noticeable. Raised edges, uneven patches, and rough textures can still show through.
Even worse, the new paint may begin peeling within weeks or months. Since it's attached to damaged paint instead of the actual surface, it has no strong foundation.
Some common problems include:
Visible chipped edges showing through the new paint
Poor adhesion that causes fresh paint to peel
Uneven texture that stands out in natural light
More repairs later because the damage keeps spreading
Skipping preparation might save an hour today, but it often creates several hours of extra work later. Spending a little more time upfront almost always produces a better result.
How To Prepare Chipped Paint Before Repainting
Preparing the surface is the most important part of the project. It doesn't require expensive tools or professional skills. Most homeowners can do it with a few basic supplies and a little patience.
Also Read: Paint Smells Like Rotten Eggs
Here’s a guide:
Remove Loose And Flaking Paint
Start by getting rid of every piece of loose paint.
Use a paint scraper or putty knife and gently scrape away any paint that lifts easily.
Don't force off paint that's still firmly attached. Work slowly around the chipped area until all the loose edges are gone.
You may discover that the damaged section is larger than it first appeared. That's perfectly normal.
Once you're finished, the remaining paint should feel solid and secure.If you're working in an older home, especially one built before 1978 in the United States, be aware that older layers of paint may contain lead.
In that situation, follow recommended lead-safe practices before scraping or sanding.
Sand The Surface Smooth
After scraping, you'll probably notice rough edges around the repaired spots.
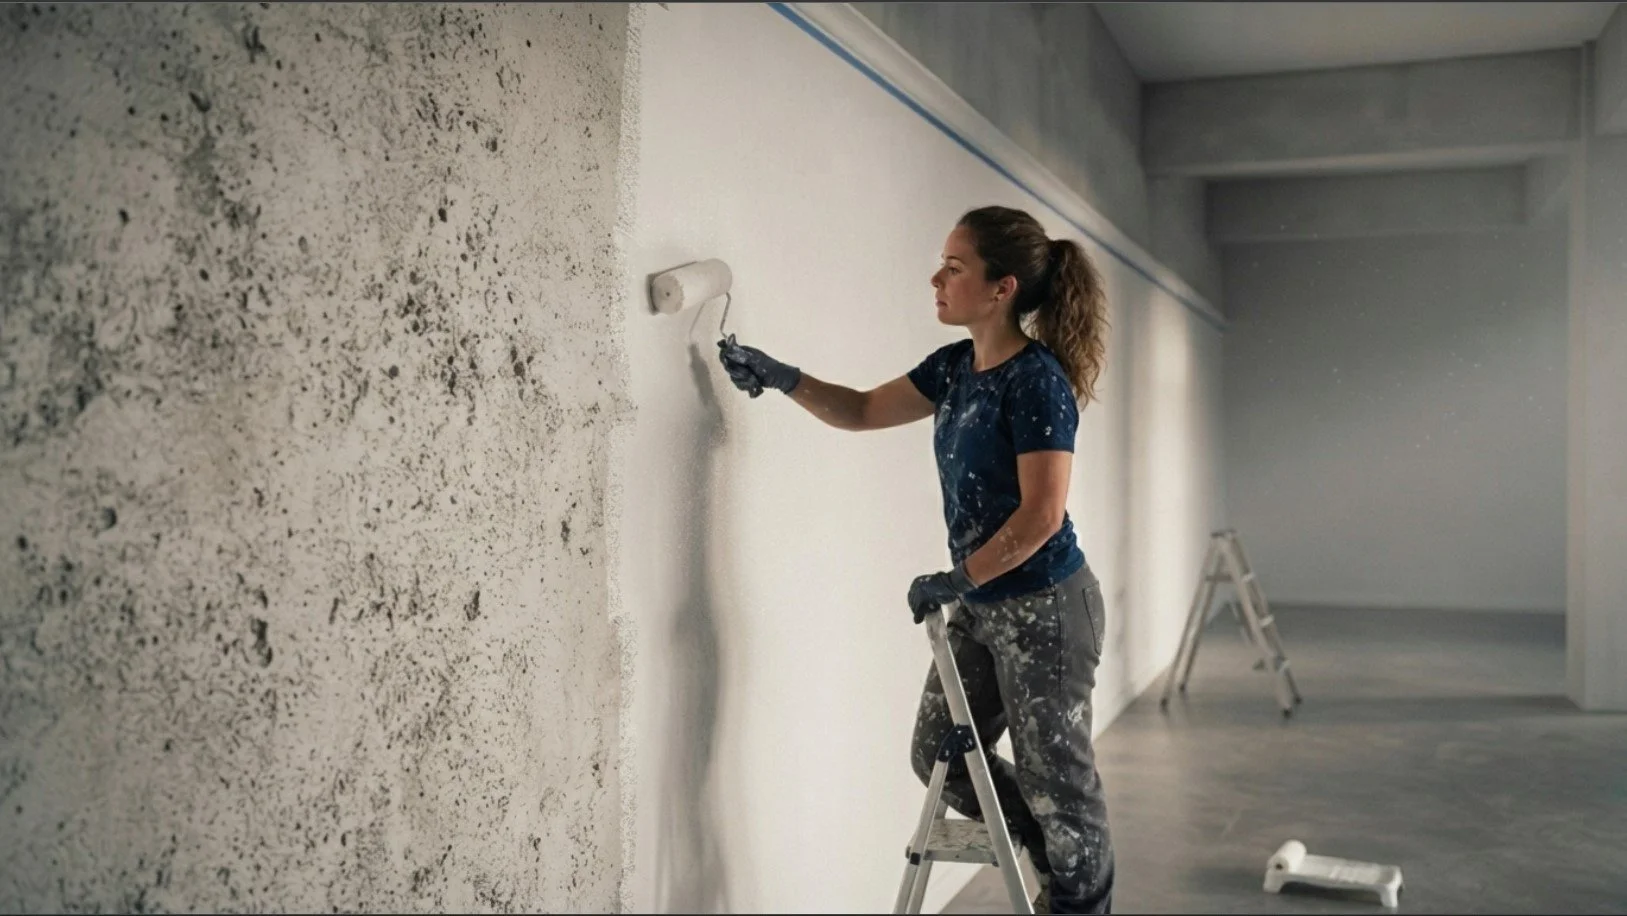
Use medium-grit sandpaper to smooth the transition between the old paint and the exposed surface. Then switch to a finer grit if needed for an even smoother finish.
Take your hand and lightly run it across the area. If it feels smooth, you're on the right track.
Sanding also gives the new paint a slightly rough surface to grip, which helps improve adhesion.
Fill Deep Chips And Cracks
Some chipped areas leave behind shallow dents or small holes.
If you paint over them, they'll still be visible after the paint dries.
Use a quality wall filler, wood filler, or spackle that matches your surface. Apply a thin layer using a putty knife and press it firmly into the damaged area.
Don't worry if it's not perfect on the first pass.
Allow the filler to dry completely according to the product instructions. Then sand it until it's level with the surrounding surface. The repair should blend naturally into the rest of the wall or object.
Taking a few extra minutes here makes a big difference in the finished appearance.
Clean The Surface
Dust is one of the biggest enemies of good paint adhesion.
After sanding and filling, wipe the entire area clean using a damp cloth or microfiber towel.
Remove all sanding dust, dirt, grease, and any loose debris. If you're painting a kitchen wall or another area with grease buildup, use a mild cleaner first and let the surface dry completely.
This step only takes a few minutes, but it's one you definitely don't want to skip.
Apply Primer Before Painting
Primer often gets overlooked, but it's one of the best ways to improve the final result. It seals repaired areas, creates an even surface, and helps the finish coat stick properly.
Primer is especially helpful if you've exposed bare drywall, wood, plaster, or metal during the repair process.
Apply a thin, even coat and let it dry completely before painting. In many cases, primer also helps hide repaired patches so they don't show through the final paint color.
Choosing the right primer for your surface gives your paint job a stronger, longer-lasting finish.
Also Read: Magnum Project Painter Plus Not Priming
How To Paint Over A Repaired Chipped Area
Once the primer has dried, you're finally ready to paint.
Start by choosing a paint that matches the existing finish if you're only touching up a small area.
If you're repainting the entire wall or room, use the same type and sheen throughout for the most consistent appearance.
Apply the paint in thin, even coats instead of trying to cover everything at once. Thick coats take longer to dry and are more likely to leave brush marks or uneven texture. Most projects look best with two coats of paint.
As you work, blend the edges into the surrounding area. This helps create a smooth transition that doesn't draw attention to the repair.
After everything dries, step back and inspect the surface from different angles. Natural light can reveal spots that aren't obvious under indoor lighting.
If you notice a small imperfection, lightly sand the area, clean away the dust, and apply another thin coat if needed.
Final Thoughts
Painting over chipped paint is absolutely possible, but preparation is the key to getting great results.Simply brushing fresh paint over damaged areas rarely lasts.
The new paint depends on the old surface underneath, and if that surface is already failing, the problem usually returns.
Instead, take the time to scrape away loose paint, smooth the edges, fill any damaged spots, clean the surface, and apply primer before painting. These simple steps help create a stronger bond and a much better-looking finish.
The extra effort doesn't add much time to the project, but it can add years to the life of your paint job.