Can You Paint Satin Over Semi-Gloss? (Guide)
If you're planning to freshen up a room, you might be looking at a semi-gloss wall, door, or trim and wondering if you can simply cover it with satin paint.
The good news is that you absolutely can.
The catch is that the job needs a little preparation first.
Since semi-gloss has a smooth, shiny surface, it needs some preparation so the new paint can stick well.
In this guide, you'll learn exactly how to paint satin over semi-gloss, if a liquid deglosser is a good alternative to sanding, and a few simple tips to help you get a smooth, long-lasting finish.
Can You Paint Satin Over Semi-Gloss?
Yes, you can paint satin over semi-gloss.
In fact, people do it all the time when they want a softer, less reflective finish. Satin paint hides small imperfections better than semi-gloss and creates a warmer, more relaxed look.
The biggest challenge isn't the satin paint itself. It's the glossy surface underneath.
Semi-gloss paint is designed to be durable and easy to clean, which also makes it harder for another coat of paint to stick.
If you open a can of satin paint and roll it directly onto a shiny wall, it may seem fine at first. Once it dries, though, the finish can scratch easily or start peeling in areas that get bumped or cleaned often.
That's why proper preparation makes such a big difference.
Taking an extra hour to prep the surface is much easier than repainting the entire project later.

Also Read: Can You Shellac Over Paint?
How To Paint Satin Over Semi-Gloss
Here’s how we recommend painting satin over semi gloss. Follow them in order, and you'll give your new paint the best chance to last:
Step 1: Clean The Surface
Start by cleaning everything you're planning to paint. Dust, grease, fingerprints, cooking residue, and even invisible dirt can keep paint from sticking well.
Use warm water with a mild detergent or a household cleaner made for painted surfaces.
If you're working in a kitchen or bathroom, spend a little extra time removing grease and soap buildup.
After cleaning, rinse away any leftover cleaner if needed and let the surface dry completely.
Painting over moisture isn't a great idea, so patience pays off here.
Step 2: Sand The Semi-Gloss Finish
This is probably the most important step in the entire project.
Use fine-grit sandpaper, somewhere around 180 to 220 grit, and lightly sand the surface.
Remove the shine and create tiny scratches that help the satin paint grip the surface.
Keep your pressure light and work evenly across the entire area. If you're painting trim or cabinets, folding the sandpaper can help you reach corners and edges more easily.
Once you're finished, the surface should feel smooth but no longer glossy.
Also Read: Paint Not Sticking To Primer
Step 3: Remove All Sanding Dust
After sanding, you'll notice a layer of fine dust sitting on the surface. Don't paint over it.
Use a vacuum with a brush attachment or wipe everything down with a damp microfiber cloth.
Some painters also use a tack cloth to pick up the last bits of dust.
Give the surface a few minutes to dry again before moving to the next step. Even a small amount of leftover dust can affect how smooth your finished paint looks.
Step 4: Apply A Bonding Primer (If Needed)
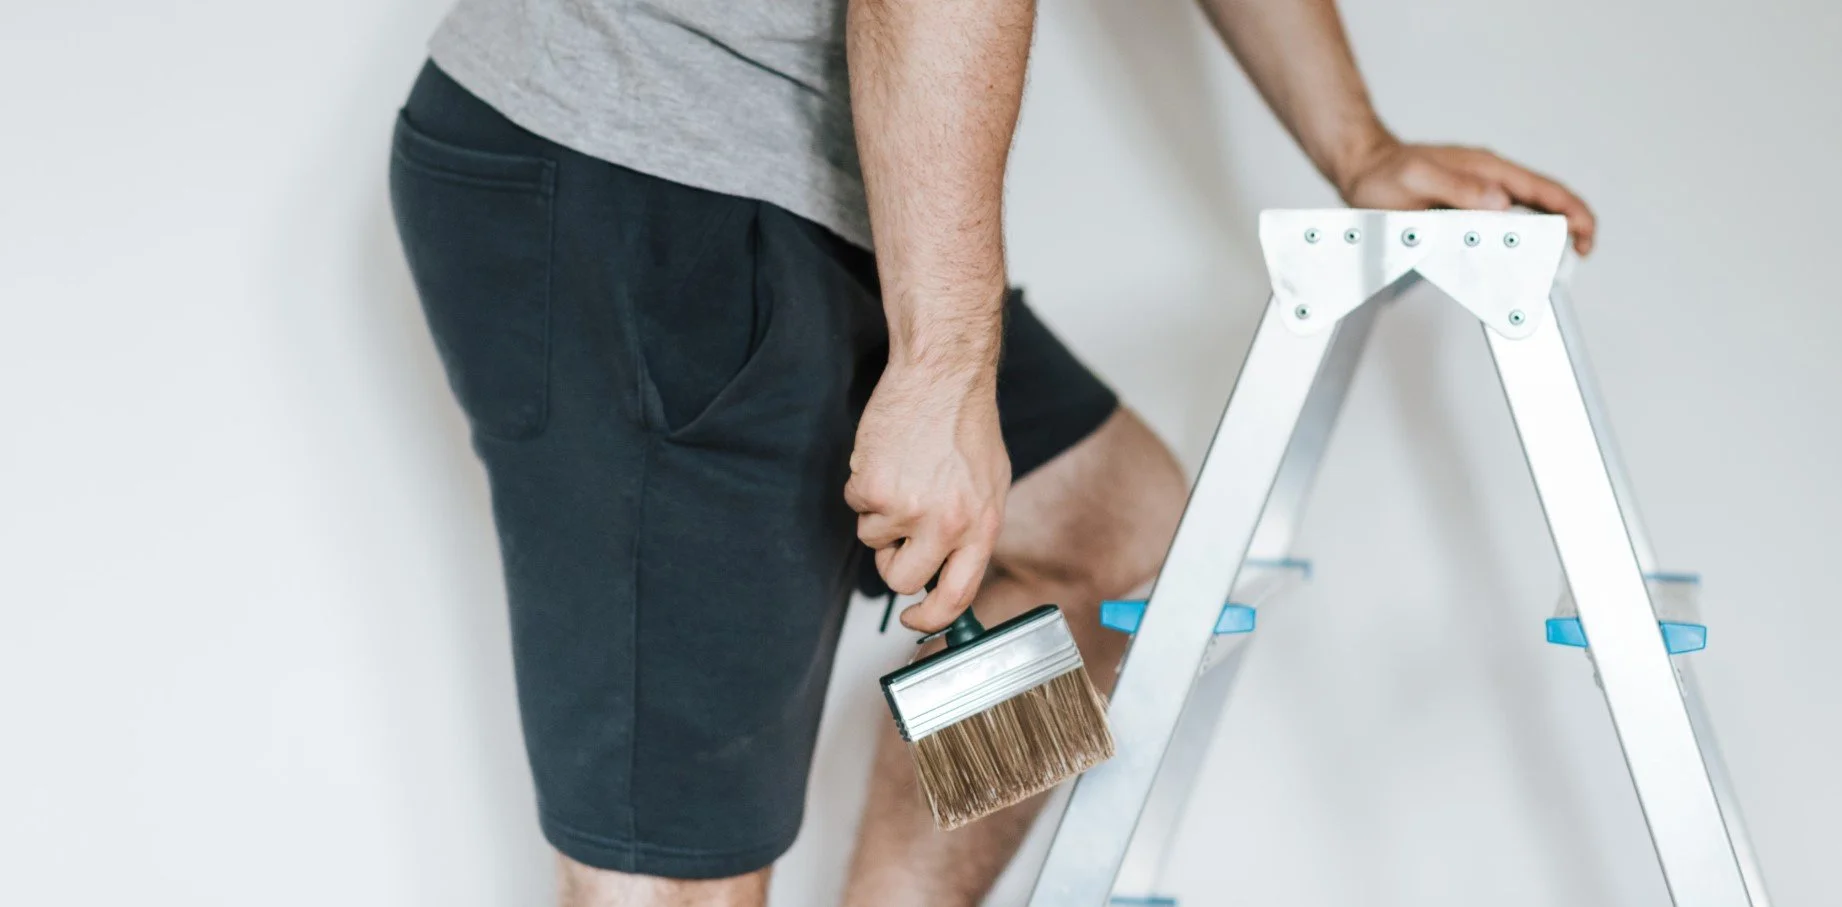
Primer isn't always required, but there are plenty of situations where it's worth using.
A bonding primer creates a surface that satin paint sticks to very well. It also helps cover stains and makes dramatic color changes much easier.
Primer is a smart choice if:
The semi-gloss finish is very shiny.
You're covering a dark color with a much lighter one.
The surface has repairs or patched areas.
You're painting cabinets, doors, or trim that get heavy use.
Apply a thin, even coat and allow it to dry according to the manufacturer's instructions before opening your satin paint.
Step 5: Apply The Satin Paint
Now comes the fun part.
Stir the paint thoroughly before you begin.
Use a quality roller for walls and a good brush for trim, doors, or detailed areas. Apply thin, even coats instead of trying to cover everything at once.
It's tempting to load the roller or brush with lots of paint, but heavy coats often leave streaks, drips, and uneven drying. Two lighter coats almost always produce a better-looking finish.
Work steadily across the surface, keeping a wet edge as you go.
Step 6: Add A Second Coat If Necessary
Most projects benefit from a second coat of satin paint.
Once the first coat has dried completely, inspect the surface in good lighting. Look for thin spots, uneven color, or areas where the old finish still shows through.
Apply the second coat just as carefully as the first.
You'll usually notice the finish becoming richer, smoother, and more consistent.
After painting, avoid scrubbing or placing heavy objects against the surface until the paint has fully cured. Dry paint and cured paint aren't exactly the same thing. Even though the surface may feel dry after a few hours, it continues hardening for several days.
Also Read: Paint Smells Like Rotten Eggs
What Type Of Satin Paint Works Best?
The best satin paint depends on what you're painting.
For most interior walls, a high-quality water-based latex satin paint is the easiest option. It dries quickly, has less odor, cleans up with soap and water, and holds up well in everyday living spaces.
Doors, trim, and cabinets often benefit from specialty satin paints designed for high-traffic areas.
These formulas cure into a tougher finish that resists scratches and frequent cleaning.
When shopping for paint, focus on quality instead of simply choosing the lowest price. Better paints usually provide better coverage, smoother application, and longer-lasting results.
That often means buying less paint overall because fewer coats are needed.
A few things to keep in mind include:
Choose a quality paint from a trusted brand.
Match the paint to the surface you're painting.
Use the recommended roller nap and brush for the smoothest finish.
Allow proper drying time between coats.
A little planning goes a long way and makes the entire project much more enjoyable.
Bottom Line
Painting satin over semi-gloss is completely possible, and it's a great way to give a room a softer, more modern appearance.But you need to prepare the surface correctly.
Clean away dirt and grease, lightly sand the glossy finish or use a liquid deglosser, apply a bonding primer if needed, and finish with thin, even coats of satin paint.
Those simple steps help the paint stick better and leave you with a finish that looks great for years.
It might seem like extra work at the beginning, but you'll appreciate the results every time you walk into the room.