Paint Not Sticking To Primer (7 Reasons Why)
You've spent time cleaning, priming, and getting everything ready. Then you roll on the paint, expecting a smooth finish, only to watch it bead up, peel, or refuse to stick.
It's frustrating, especially since primer is supposed to make painting easier, not harder.
The good news is that primer isn't always the problem.
In many cases, poor surface preparation, the wrong products, or even the weather.
In this guide, we'll explain why your paint isn't sticking to primer, along with simple fixes that can help you get a smooth, durable finish.
#1 The Primer Wasn't Fully Dry
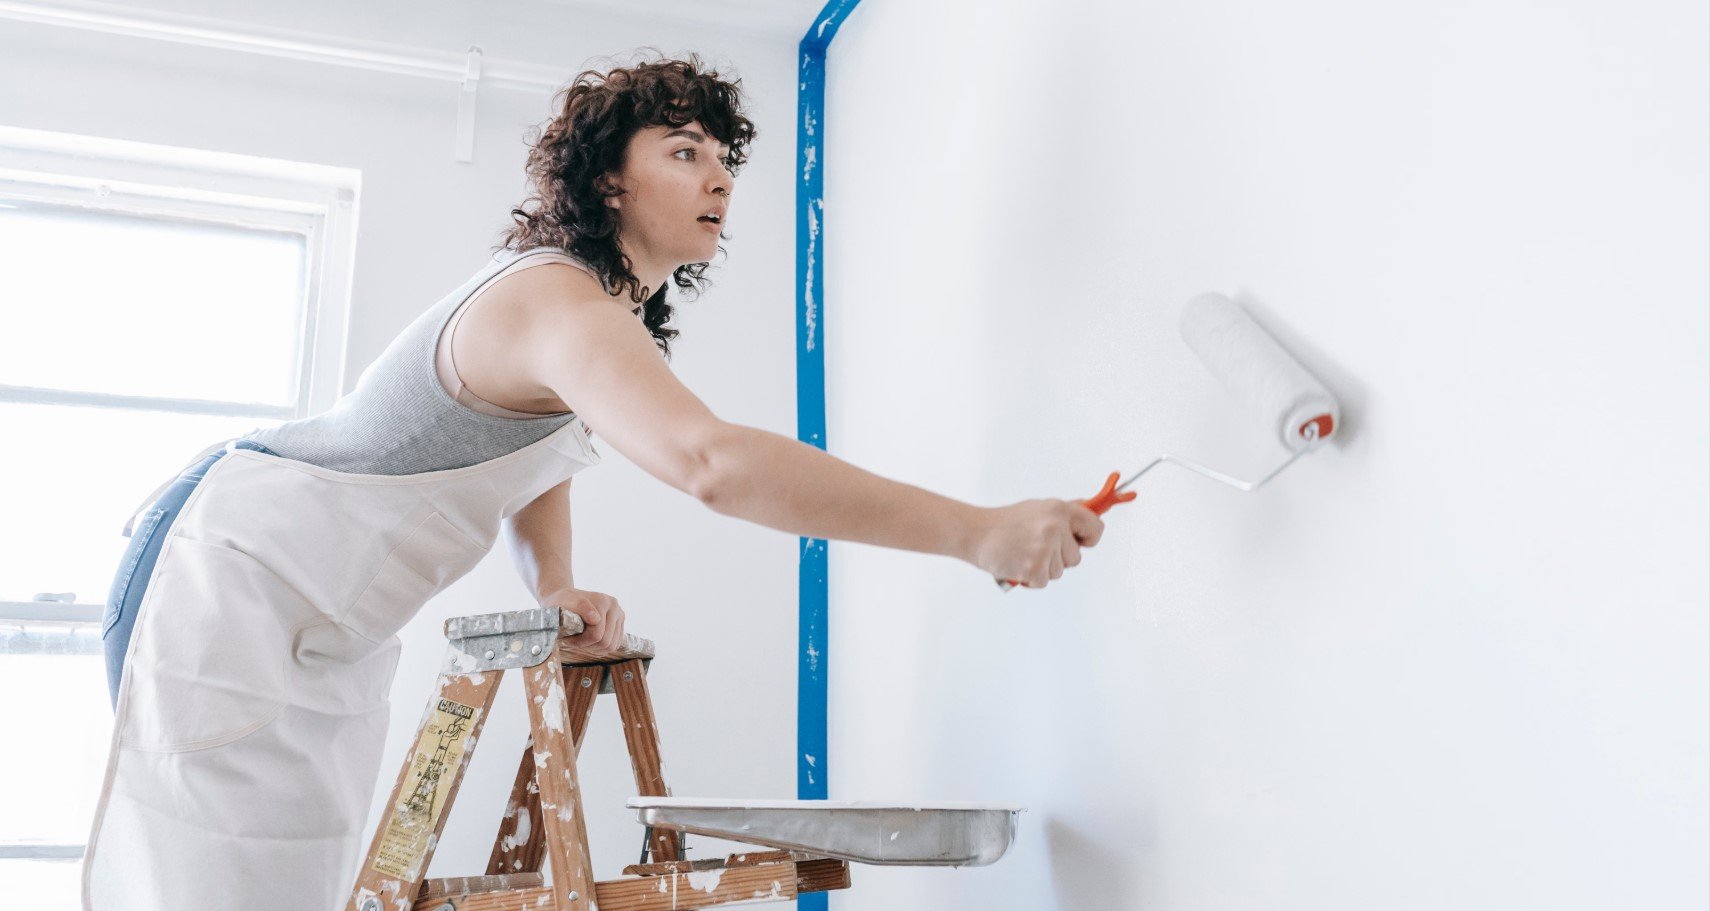
One of the biggest mistakes people make is painting over primer too soon.
Primer may feel dry to the touch after an hour or two, but that doesn't always mean it's ready for paint. Many primers continue hardening for several more hours.
If you paint before that process finishes, the topcoat may struggle to bond properly.
The result can be peeling, bubbling, or paint that slides around instead of covering evenly.
Always check the drying and recoat times listed on the primer can. Those recommendations exist for a reason. If your room is cool or humid, expect drying to take even longer than the label suggests.
Giving primer extra time is far easier than having to scrape everything off later.
Also Read: Paint Smells Like Rotten Eggs
#2 The Surface Was Dirty Before Priming
Primer can only stick as well as the surface underneath it.
If the wall, trim, or furniture still had dust, grease, fingerprints, cooking oils, or soap residue before priming, the primer may never have bonded properly in the first place.
Then the paint ends up sitting on top of a weak layer instead of a solid foundation.
Even fine sanding dust can create problems. It doesn't take much to interfere with adhesion.
Before priming any surface, wipe it down thoroughly and let it dry completely. Spending ten extra minutes cleaning can save hours of repairs after the paint starts peeling.
#3 Using The Wrong Type Of Primer
Not every primer works on every surface.
For example, drywall primer is great for new drywall but isn't the best option for glossy cabinets. A regular latex primer may struggle on metal, while masonry often requires products designed specifically for concrete or brick. Some oil-based primers also don't pair well with certain water-based paints unless they're fully cured.
So the paint won’t stick to the wrong primer.
Choosing the right primer for the material you're painting makes a huge difference. The label usually lists the surfaces it's designed for, so it's worth taking a quick look before buying.
Using a specialty primer may seem like an unnecessary extra step, but it often prevents adhesion problems completely.
#4 The Primer Surface Is Too Smooth
Believe it or not, primer itself can sometimes become too smooth for paint to grip.
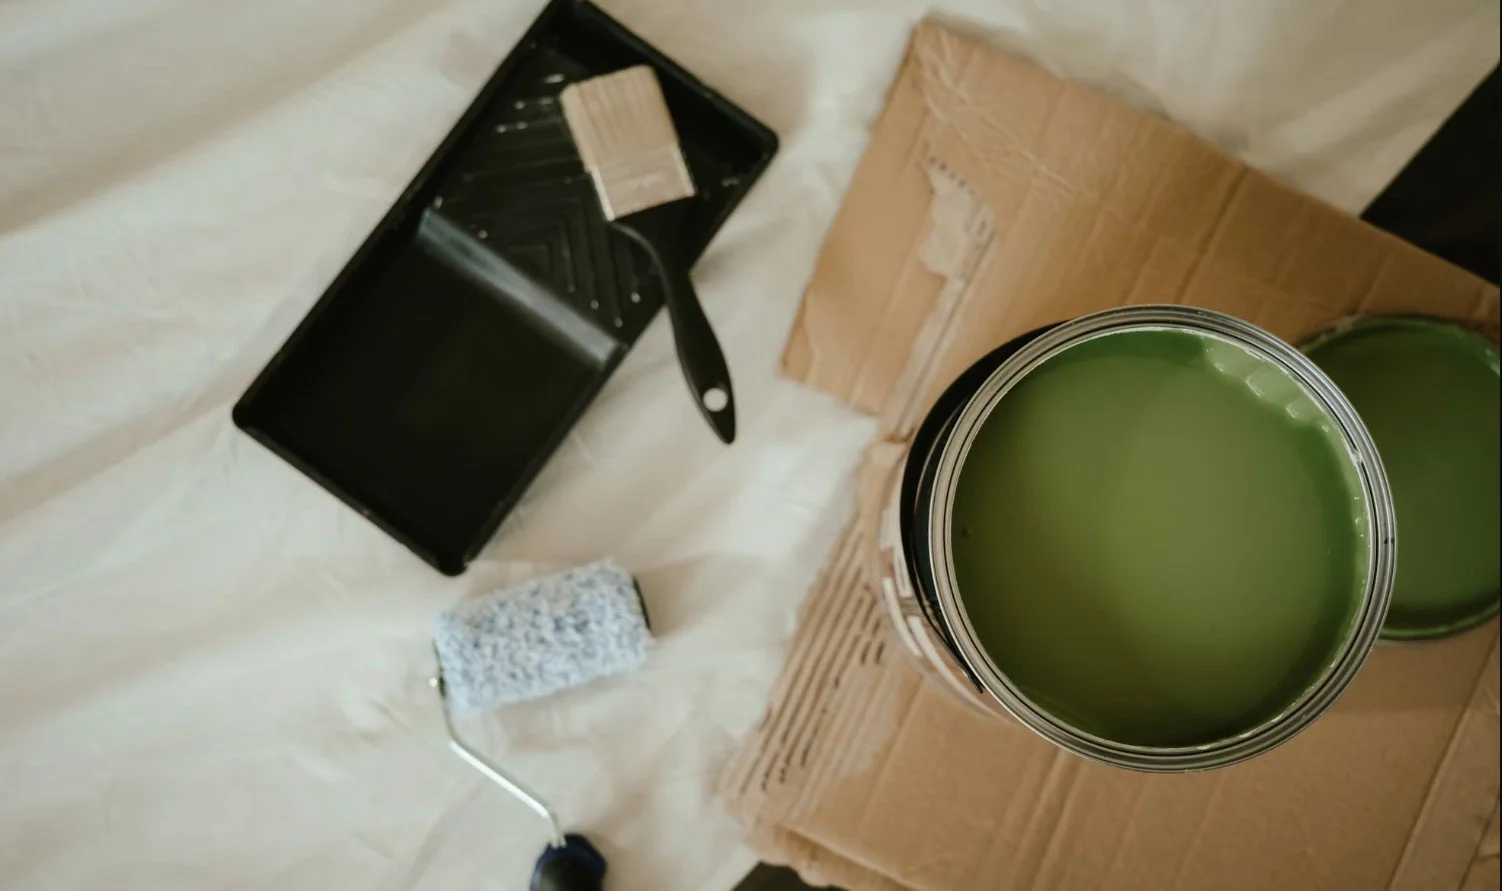
This happens with some high-build primers, spray primers, or products that dry with a slick finish. Paint likes having a tiny bit of texture to grab onto. When the surface feels almost polished, the bond may not be as strong as it should be.
A quick light sanding usually solves this problem.
Use fine-grit sandpaper (around 220 grit works well for most projects) and gently scuff the surface.
You're not trying to remove the primer. You're simply creating a little texture so the paint has something to hold onto.
After sanding, wipe away every bit of dust before painting.
#5 Poor Quality Or Expired Primer
Primer doesn't last forever.
If it's been sitting in the garage for years through hot summers and cold winters, there's a good chance it won't perform like it once did.
Old primer can separate, thicken, develop lumps, or lose its bonding ability. Even if you stir it well, the ingredients may no longer work together the way they should.
Also Read: Can You Shellac Over Paint?
Cheap primers can also cause issues. While plenty of budget products perform well, some simply don't provide the adhesion needed for demanding surfaces.
If your primer smells unusual, has a chunky texture that won't mix, or looks inconsistent after stirring, it's probably time to replace it.
Fresh primer costs far less than repainting an entire room.
#6 Moisture Or High Humidity
Painting conditions can also make paint not stick to primer.
When the air is very humid, primer and paint dry much more slowly. Excess moisture can become trapped between the primer and paint, preventing a strong bond from forming.
Bathrooms, basements, kitchens, and freshly washed exterior surfaces are especially prone to this problem.
Try to paint when temperatures are moderate and humidity levels are lower. Good ventilation also helps speed up drying and allows both primer and paint to cure properly.
If the surface itself feels damp, wait until it's completely dry before continuing.
#7 The Paint And Primer Are Incompatible
Sometimes the problem isn't the primer or the paint by itself.
It's the combination of the two.
Different manufacturers design products to work with certain types of coatings. Mixing products that aren't compatible can reduce adhesion and cause peeling, cracking, or uneven coverage.
This doesn't mean you always have to buy everything from the same brand, but you should make sure the products are compatible.
A few minutes spent reading the labels can prevent a lot of headaches later.
If you're unsure, look for recommendations on the primer can or the paint manufacturer's instructions before starting your project.
Also Read: Can You Tile Over Paint?
How To Fix Paint That Isn't Sticking To Primer
If the paint is already peeling or refusing to bond, don't keep adding more coats. More paint usually won't solve the problem. Instead, fix the root cause first.
Here’s what we recommend if paint not sticking to primer:
Remove all loose, peeling, or flaking paint until you reach a solid surface.
Sand the edges of the damaged area to create a smooth transition between the old paint and the exposed primer.
Clean the entire surface to remove dust, grease, dirt, and any sanding residue, then let it dry completely.
Lightly sand glossy primer to give the new paint a surface it can grip.
Apply a new coat of primer if the existing primer is damaged, peeling, or unsuitable for the surface, and allow it to dry fully.
Repaint using thin, even coats, allowing each coat to dry before applying the next.
Final Thoughts
Paint will not stick to primer due to poor surface preparation (dust, grease, or moisture), an excessively glossy or smooth primer finish that lacks "tooth" for adhesion, or a chemical incompatibility between the paint and primer bases.
The good news is that none of these problems are difficult to fix.
Taking a little extra time to prepare the surface, choosing products that work together, and letting each layer dry properly can make a huge difference.
Painting is one of those projects where patience really pays off. Get the foundation right, and the finish will look better, last longer, and save you from having to redo the job anytime soon.