Mastering Clean, Crisp Lines: Secrets for Perfect Trim and Baseboard Painting
Redecorate Your Rooms with Seamless Trim and Baseboard Painting
The Ultimate Guide to Painting Trim and Baseboards
Winging it on painting baseboards and trim may be a seeming impossibility, but proper planning, tools, and techniques can lead to finished-looking surfaces that complement the facade of the room. As the icing on the cake to the wall, baseboards and trim offer the room a clean finished face that binds the area together when painted just so.
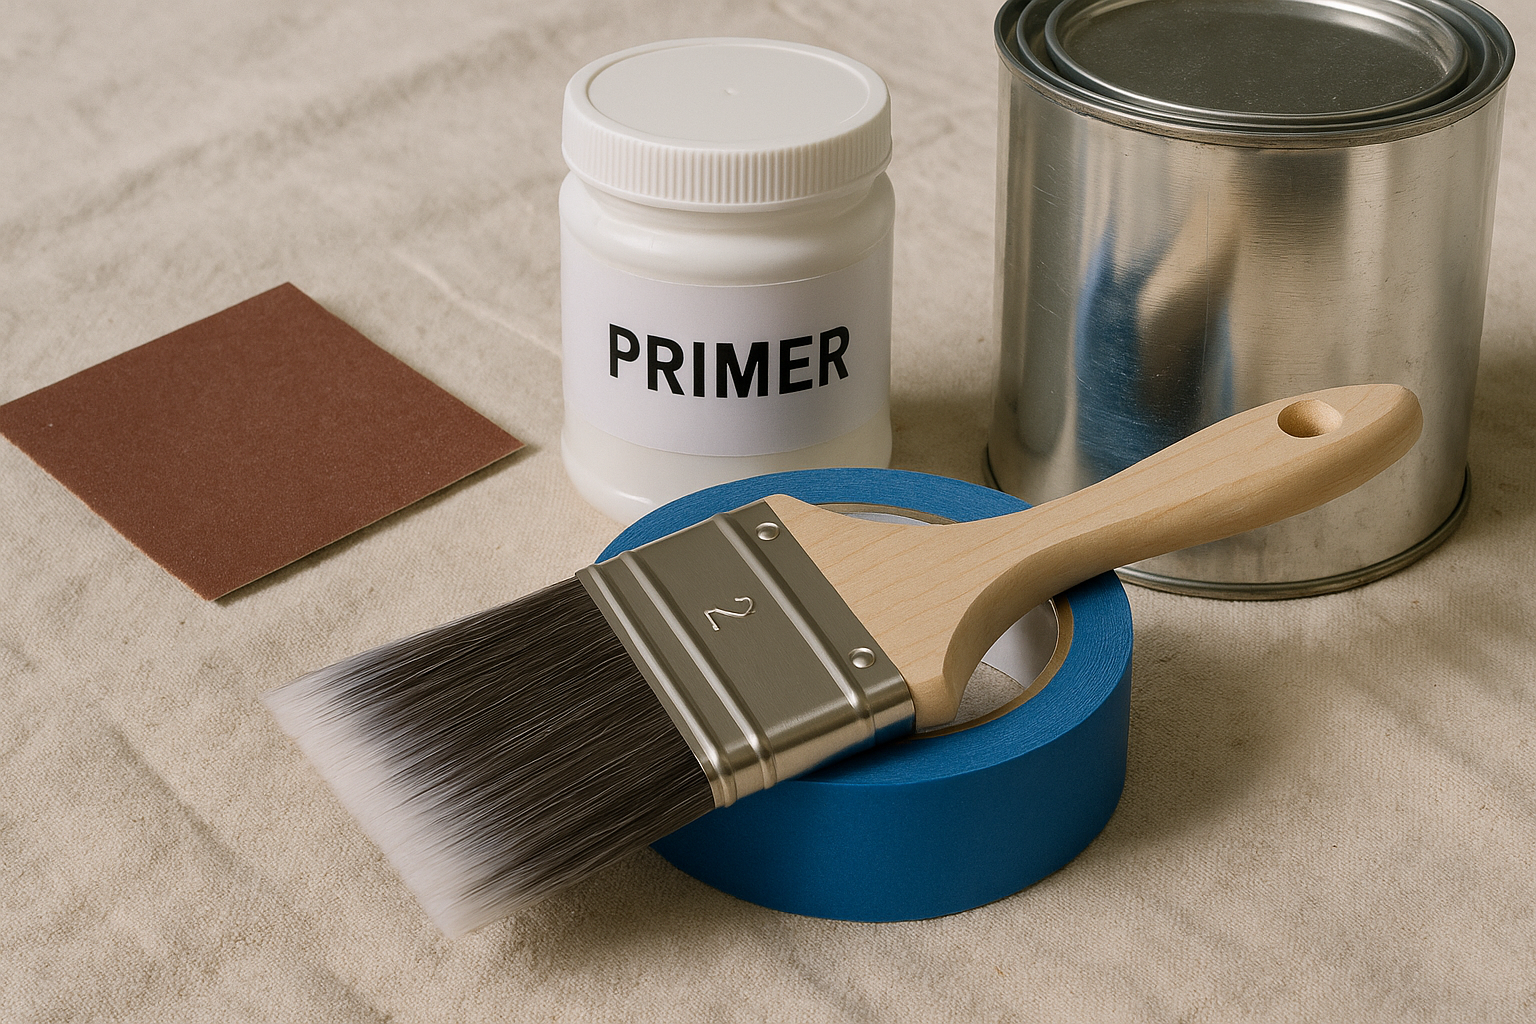
Essential Tools and Materials
For clean, crisp trim, stock up on:
A good-angled brush (2 inches preferable)
Painter’s tape
Drop cloths
Fine-grit sandpaper
Tack cloth
Primer (if needed)
Semi-gloss or gloss paint (durable and wipeable)
Pro Tip: Always invest in high-grade brushes. Cheap brushes shed bristles and leave streaks.
Prepping the Area Like a Pro
It takes preparation to achieve 80% of the work. Before dipping the brush:
Wipe clean trim with a damp cloth to dust and de-grease.
Lightly sand to smooth out imperfections and create a paint-ready surface.
Wipe with tack cloth to remove fine dust.
Tape walls and floors to get clean lines.
Skipping prep work is the number one reason that do-it-yourself trim jobs appear amateurish.
Better Caulk on Extremely Sharp Trim Lines
Minor areas where trim and wall or flooring meet should be thinly coated with paintable acrylic caulk prior to painting. Smooth it immediately with a moistened finger or caulk tool. To emphasize the detail, make the bead thin. Feather the lines to prevent ridges showing through the finish. Before painting with spot-prime paint, allow any exposed filler to dry according to the directions on the label. Where stained-wood trim or special finish trim is involved, use color-matched wood filler instead of caulk. For wider joints in older homes, insert foam backer rod before caulking. This flexible seal eliminates shadow lines, stops drafts, and produces a smooth, high-gloss edge.
Step-By-Step Painting
Prime if Necessary
Raw wood, stained trim, or patches must be primed to allow the paint to adhere.Use the Right Technique
Dip the brush one-third into the paint.
Tap the excess off; don’t wipe the can edge.
Start halfway down the trim piece and work to the ends.
Use long, smooth strokes for consistency.
Control Your Lines
If you can’t paint freehand, use painter’s tape. An angled brush helps achieve sharp, professional lines.Apply Multiple Thin Coats
Thin coatings will always be better than one thick coating. Let each coat dry fully.Final Touch-Ups
Remove tape before paint dries completely to avoid peeling. Inspect and fix defects.
Dryer Drying Time Recommendations
Rushing trim work is the guaranteed way of ending up with brush marks and lint stuck in your finish. Give yourself grace. After each coat, rest ten minutes and inspect under window stools and along baseboard ends for sags. If you see a drip forming, feather it lightly; don’t overwork drying paint. Use a fan across the room (not directly on the surface) to move air. Paint that feels dry to the touch still needs hours to cure. Before recoating, test a hidden spot with your finger—if it feels cool or tacky, wait longer.
Selecting the Appropriate Paint Finish
Semi-gloss and gloss are appropriate on trim and baseboards:
Durable: Withstands scuffs and bumps.
Washable: Easy to clean with a damp cloth.
Crisp appearance: Reflects light and highlights architectural features.
Advice on Performance in the Workplace
Cutting in without tape: Clean edges can be learned freehand. Load the brush lightly, tip the bristles, and always work along the line.
Coordinating paint colors: Consider a different sheen for trim (matte trim, shiny walls, etc.) while coordinating wall color for a smooth, modern finish.
Pre-paint repair: Fill nail voids, smooth lumpy areas, and caulk gaps; blemishes become more noticeable once painted.
Don’t Make These Common Errors
Skipping prep: Paint won’t adhere correctly.
Painting trim with flat paint: Considerably weaker.
Brush overloading: Creates streaks and drips.
Leaving tape on too long: Can lift the dried paint.
Post-Painting Care
Dust regularly to keep the clean appearance.
Remove scuffs promptly.
Clean gently; don’t use abrasives.
FAQ
Q1: Can trims be painted without sanding them?
A: Very light sanding should be carried out for adhesion. Otherwise, peeling may occur later.
Q2: Which trim finish is ideal?
A: Semi-gloss is the more popular one. Gloss is also good for durability and extra shine.
Q3: How long between coats?
A: As the paint manufacturer advises—usually 4–6 hours.
Q4: Which should be painted first, walls or trim?
A: Pros typically paint the trim first to minimize touch-ups.
Q5: Can I spray baseboards and trim?
A: Yes, but proper ventilation and masking are required. Brushing is more convenient for many DIYers.
All the interiors receive an upgrade with clean, brand-new trim that puts rooms on the high-end level. With patience and technique, it’s highly achievable to achieve pro-level trim and get pro-level-looking finished products at home. If you need a helping friendly hand to check prep twice, smooth out those crisp lines, or just relieve yourself of precious time, the painters at Paint Heroes is here to help you to a beautiful, lasting finish that you will appreciate passing by every day.
Everything You Should Know About Painting Inside Your Home
Learn the Secrets Behind a Professional-Looking Interior
Choosing the Right Paint Finish for Each Room
The Cost of Interior Painting in 2025
The Best Paint Colors for Bedrooms in 2025
Kitchen Paint Ideas That Instantly Upgrade Your Home
Bathroom Paint Colors That Resist Moisture
The Psychology of Paint Colors Indoors
Accent Wall Ideas That Work in Any Home
Living Room Color Palettes That Impress Guests
Painting Ceilings the Right Way
How Lighting Changes Paint Colors Indoors
Eco-Friendly Paints for Interiors
How to Match Furniture With Wall Colors
How to Paint Trim and Baseboards Like a Pro