How to Renovate Your Space with the Perfectly Painted Ceiling
Mastering Ceiling Painting for Beginners and Pros
Painting Ceilings the Right Way
Appropriately painting ceilings isn’t always considered but doing so is one of the best ways you can refresh and redecorate a room. Too many owners concern themselves with walls, flooring, or decor but the ceiling, the so-called “fifth wall,” is the interior decorating unsung hero. An appropriately painted ceiling not only opens up and lightens the eye on a room but adds that finished, professional look that sets your space apart.
In this guide, we will walk you through all you need to know when it comes to ceiling painting—from preparation to paint type, application techniques, avoiding the mistakes, safety tips, and advanced finishing techniques. Whether you’re an experienced home improver or thinking of employing an honest tradesperson like Paint Heroes, the correct techniques will see the ceiling look ideal for the long haul.
Why the Ceiling Matters
The ceiling has an incredible effect on how the space will feel. Bright, clean ceilings will reflect light, making rooms brighter and larger. Stained, cracked, or poorly painted ceilings draw unwanted attention and detract even from the most stylish interiors.
To properly paint the ceiling:
Improve natural and artificial light dispersal.
Develop the illusion of high ceilings and spaciousness.
Tie the entire design theme together.
Add personality with color, texture, or design elements.
Choosing the Right Paint for Ceilings
Flat vs. Satin Finishes
Latex paints are ideal for ceilings with improved hiding power and less glare. Satin or semi-glosses for easy cleanability are saved for the bathrooms or the kitchen where there is high moisture.
Color Choices
White is still the most overall ceiling choice, as light passes best through it and it complements nearly all colored walls. Risk-taking designers, however, experiment with colored ceilings—cool blues for lightness, warm neutral tones for warmth, or even darkest for drama.
Specialty Paints
You might need specialty ceiling paints. They keep the spatter back, dry more slowly for less streaking, and cover better. If you need to cover smoke stains or water spots, consider using a stain-blocking ceiling primer or high-humidity area paint.
Preparation: Where Success Lies
Good results start much earlier when the roller strikes the ceiling.
Clear the Room – Move the furniture or cover drop cloths over the furniture.
Protect the Floors and Walls – Use plastic sheeting or heavy-duty fabric drop cloths.
Clean the Ceiling Surface – Dirt, cobwebs, and stains will prevent adhesion.
Repair Flaws – Patch holes, fill holes, bond, smooth over.
Prime When Necessary – especially with stained ceilings, newly installed drywall, or drastic color changes.
Light the Space Adequately – Use regular, bright lighting so nothing is missed.
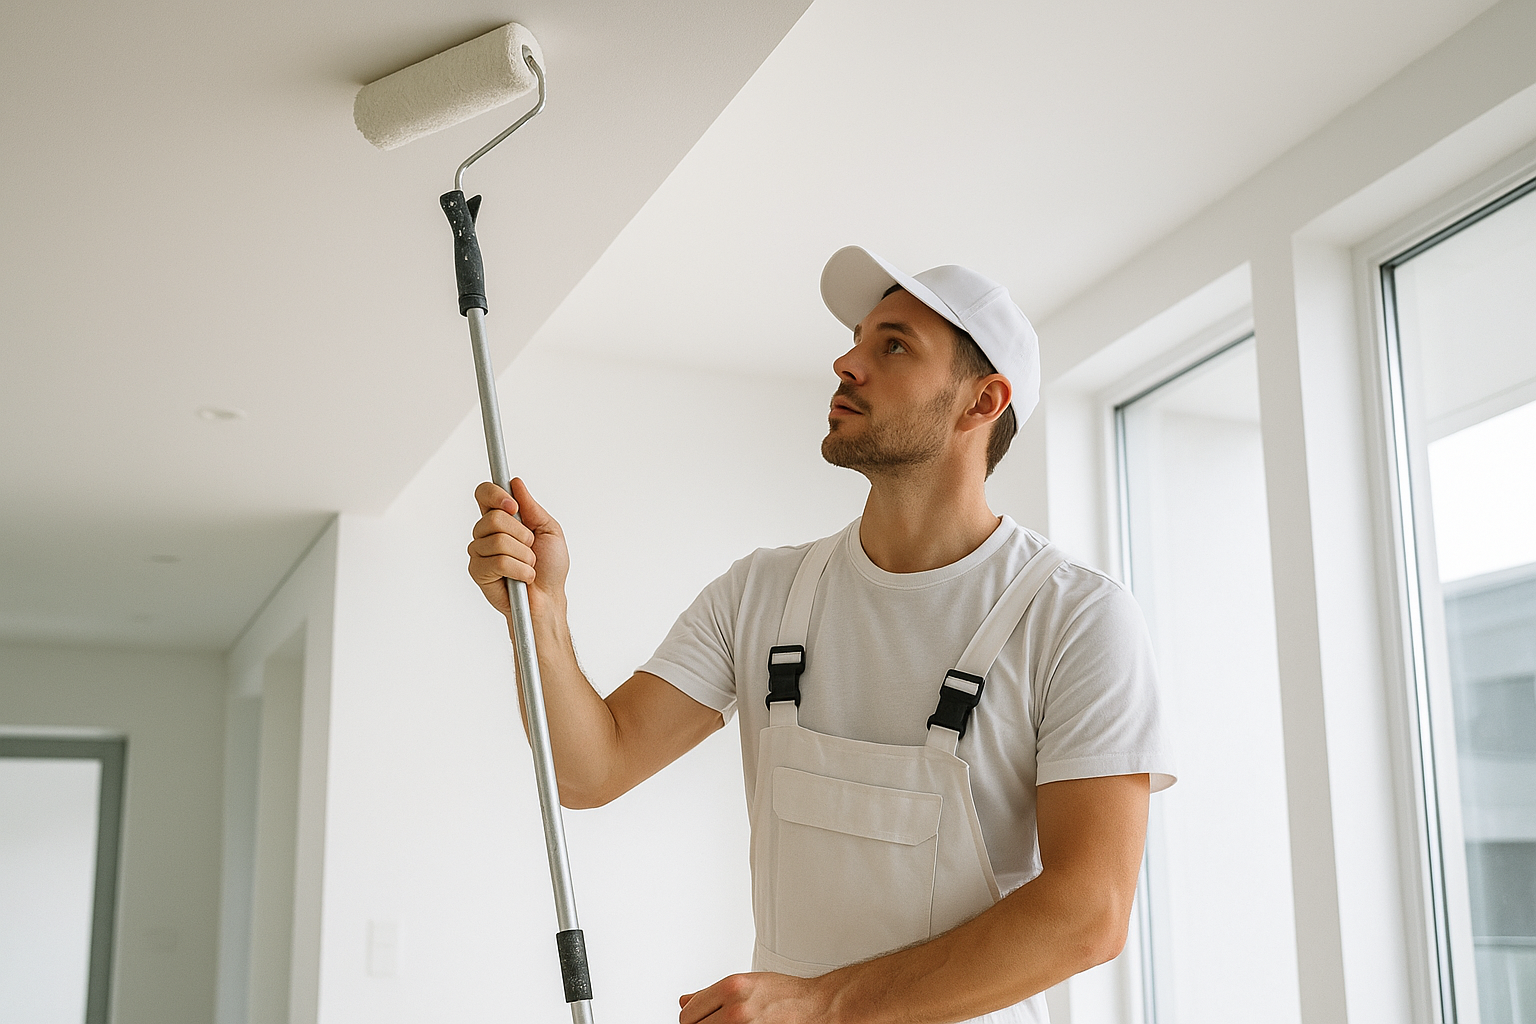
Equipment Required
Having the appropriate tools provides comfortable ceiling painting with reduced stress:
Roller extension pole (to reduce ladder use).
Long nap high quality roll for textured ceilings.
Cut edge with angled brush.
Heavy duty ladder for frequent use.
Quick-lift paint tray for convenient cleanup.
Sharp edge masking tape for protection.
Techniques for Painting Ceilings
Cutting In First
Start with an angled brush to coat the edge where the wall meets the ceiling. This prevents roll overlap and offers clean sharp edges.
Rolling the Ceiling
With long, overlapping passes using a roller. At all times maintain the wet edge to avoid streaks or lap marks. For best results:
Roll in one direction (north-south), then roll across (east-west).
Employ two thin coats instead of one thick coat for better coverage and longer durability.
Managing Texture
If you have a popcorn or textured ceiling, use a thicker nap roller. Avoid pressing too hard, as this can damage the texture. Spray systems can also help cover uneven surfaces evenly.
Safety Precautions for Painting Ceilings
Ceiling painting involves looking upwards and necessarily working on ladders, hence its characteristic safety challenges.
Use a stable ladder: Avoid overreaching—move the ladder.
Wear protective gear: Eye goggles and a hat prevent the paint from entering the eye or the hair.
Open the space: Prepainting fumes on ceilings aren't uncommon.
Get regular breaks: Standing up for long periods will cause strain. Where allowed, use extension poles.
Ceiling Painting for Different Occasions
High Ceilings
Vault or cathedral ceilings may require the use of scaffolding or tall ladders. Extension poles with swiveling heads make reaching easier.
Kitchens and Bathrooms
These regions are humid. You will require semi-gloss paints or moisture-proof ceiling paints to prevent peeling and mildewing.
Water or Smoke-Stained Ceilings
Never cover the stain with paint. Cover the stain with stain-blocking primer before you begin to paint.
Exterior Ceilings (Porches)
Exterior ceilings require exterior-grade paints that resist moisture, mildew, and UV light. Lighter colors will perform the best for absorbing heat.
Avoiding Common Mistakes
Even the most experienced painters slip up. Watch for:
Skipping Prep: Grease, dirt, or stains will bleed through the paint.
Overloading the Roller: Results in drips and insufficient coverage.
Neglecting Drying Times: You risk peeling or streaks by rushing.
Bad Lighting: Never use harsh, unbalanced lighting to prevent missed spots.
Neglecting Ventilation: Ceiling paints emit powerful fumes.
Advanced Ceiling Design Ideas
Accent Ceilings: Use bold colors for a striking effect.
Patterned or Striped Ceilings: Add gentle patterns for visual interest and diversity.
Coffered or Tray Ceilings: Accent architectural details using contrasting paint.
Metallic Finishes: Lustrous paints add sophistication and aesthetic value.
Mural or Decorative Artwork: Kids' or art room ceilings can be converted into paintings.
Maintenance Hints for Painted Ceilings
A newly painted ceiling will last for years with the right maintenance:
Dust regularly with a microfiber mop or vacuum attachment.
Spot clean with mild soap and water (donot scrub too hard).
Repaint every 7–10 years, or sooner when exposed to smoke, dampness, or heavy use.
Inspect for leaks or cracks frequently to prevent long-term issues.
When to Call the Professionals
Even though someone tries to DIY the ceiling painting, working with the experts like Paint Heroes will provide for an even smooth finish. Professionals are blessed with the techniques, machinery, and safety expertise to handle high ceilings, complex texture, as well as custom designs. When assured results are wanted by the homeowner without stress, saving money, time, as well as costly missteps.
FAQ Section
How long will it take to paint one ceiling?
Typically, an average room ceiling would require 3–6 hours depending on prep, dry time, and the size.
Can I use wallpaint on ceilings?
Technically, yes, but the ceiling paints are designed to splatter less and glare less so are the better option.
Do I need to prime before painting the ceiling?
Priming is necessary for stained ceilings, new drywall, or drastic color changes.
What is the best ceiling color for small rooms?
Pale shades, particularly white or light neutral ones, give the impression of larger rooms.
How do I avoid neck strain when working on ceilings?
Use an extension pole and rest frequently to prevent straining.
Should ceilings or the walls be painted first?
Yes, ceilings must typically be painted beforehand so not to drip on newly painted walls.
How do I paint around ceiling fixtures?
Turn power off, remove light coverings, and tape perfectly around fixtures for clean line.
What type of roller is best for ceilings?
Use a ⅜-inch nap roller for smooth ceilings. Use a ½–¾-inch nap roller for textured ceilings.
Getting the ceiling painted right will change the appearance and perception of the home considerably. From the preparation to choosing the paint to the application as well as the design ideas, everything matters. Whether you decide to do it by yourself or talk to professionals like Paint Heroes, considering the ceiling with the importance needed will give the area the brighter, cleaner, and classier feel for the long term.
Everything You Should Know About Painting Inside Your Home
Learn the Secrets Behind a Professional-Looking Interior
Choosing the Right Paint Finish for Each Room
The Cost of Interior Painting in 2025
The Best Paint Colors for Bedrooms in 2025
Kitchen Paint Ideas That Instantly Upgrade Your Home
Bathroom Paint Colors That Resist Moisture
The Psychology of Paint Colors Indoors
Accent Wall Ideas That Work in Any Home
Living Room Color Palettes That Impress Guests
Painting Ceilings the Right Way
How Lighting Changes Paint Colors Indoors
Eco-Friendly Paints for Interiors
How to Match Furniture With Wall Colors
How to Paint Trim and Baseboards Like a Pro