Can You Paint Over Thompson Waterseal?
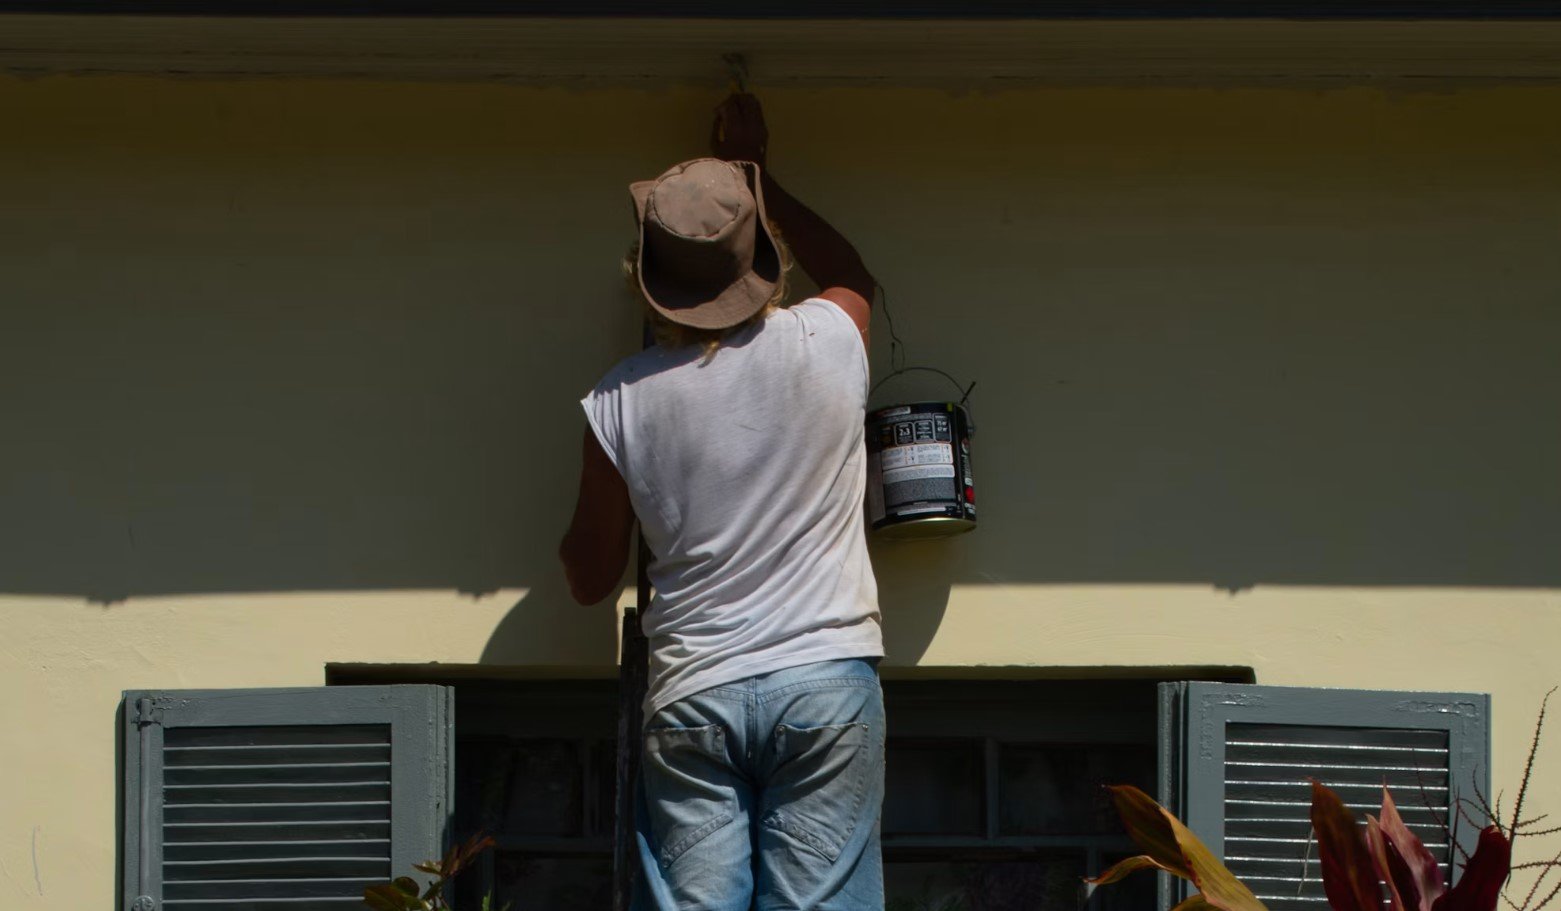
If you've decided it's time to give your deck, fence, or other wooden surface a fresh coat of paint, you might be wondering if you can paint over Thompson WaterSeal.
It's a common question, especially if the wood was protected years ago and now looks worn or outdated.
The short answer is yes, but it isn't as simple as opening a can of paint and getting started.
Thompson WaterSeal is designed to keep water out of wood, and that same protection can make it difficult for paint to stick.
In this post, we’ll show you how to paint over Thompson WaterSeal, what happens if you don't prep the surface, and how to check if the sealer is still active.
Can You Paint Over Thompson Waterseal?
Yes, you can paint over Thompson WaterSeal, but only after preparing the surface properly.
Since most Thompson WaterSeal products create a water-repellent barrier, paint has a hard time bonding directly to the wood.
If you skip the prep work, the new finish probably won't last very long.
The exact process also depends on the type of Thompson WaterSeal product that was applied.
Clear waterproofing sealers are usually the hardest to paint over because they're specifically made to prevent moisture from soaking into the wood. Solid-color products are often easier to cover because they already leave behind a coating that resembles paint.
Also Read: Can You Paint Acrylic Over Latex?
If you're not sure which product was used, don't worry. There are a few simple ways to check before you start painting.
What Happens If You Paint Over Thompson Waterseal Without Preparing The Surface?
Painting directly over Thompson WaterSeal usually creates more work later. Since the sealer repels liquids, it also makes it difficult for paint to grip the surface.
Instead of getting a smooth, durable finish, you may run into problems like:
Paint peeling or flaking after a short time
Bubbling or blistering as the paint loses its bond
Uneven coverage and patchy areas
Even if the paint looks fine at first, it can begin failing after exposure to rain, sunlight, and changing temperatures.
Outdoor wood expands and contracts throughout the year, so the paint needs a strong bond to stay in place. Without proper preparation, that bond simply isn't there.
How To Tell If Thompson Waterseal Is Still Active
Before you start sanding or priming, it's helpful to find out if the old sealer is still doing its job.
The easiest method is the water bead test.
Sprinkle a few drops of water onto the wood and watch what happens. If the water forms small beads and stays on the surface, the sealer is still active.
That means the wood is still resisting moisture and will also resist paint.
If the water quickly soaks into the wood instead of beading up, the sealer has likely worn down enough that surface preparation will be much easier.
It's a simple test, but it can help you avoid painting over a surface that isn't ready.
Also Read: Zinsser 123 Primer Problems
How To Paint Over Thompson Waterseal
Painting over Thompson WaterSeal is completely possible if you take your time and prepare the surface correctly. Here’s how to do it:
Step 1: Clean The Surface
Start by giving the wood a thorough cleaning.
Dirt, mildew, grease, and loose debris can all interfere with paint adhesion, even if the sealer has already worn away.
Use a wood cleaner or a mild detergent mixed with water, then scrub the surface with a stiff brush. Rinse everything well and allow the wood to dry completely before moving on.
Painting over damp wood can trap moisture underneath the finish, leading to future problems.
Step 2: Remove Or Scuff The Existing Sealer
Next, sand the wood to remove as much of the remaining sealer as possible while creating a rougher surface for the primer to grip.
You don't always have to strip every bit of the old coating, especially if it's already breaking down. However, any glossy or water-repellent areas should be sanded thoroughly. Medium-grit sandpaper usually works well for this job, followed by a finer grit to smooth the surface before priming.
Once sanding is finished, wipe away all dust with a clean cloth or tack cloth.
Also Read: KILZ 2 Primer Problems
Step 3: Apply A Bonding Primer
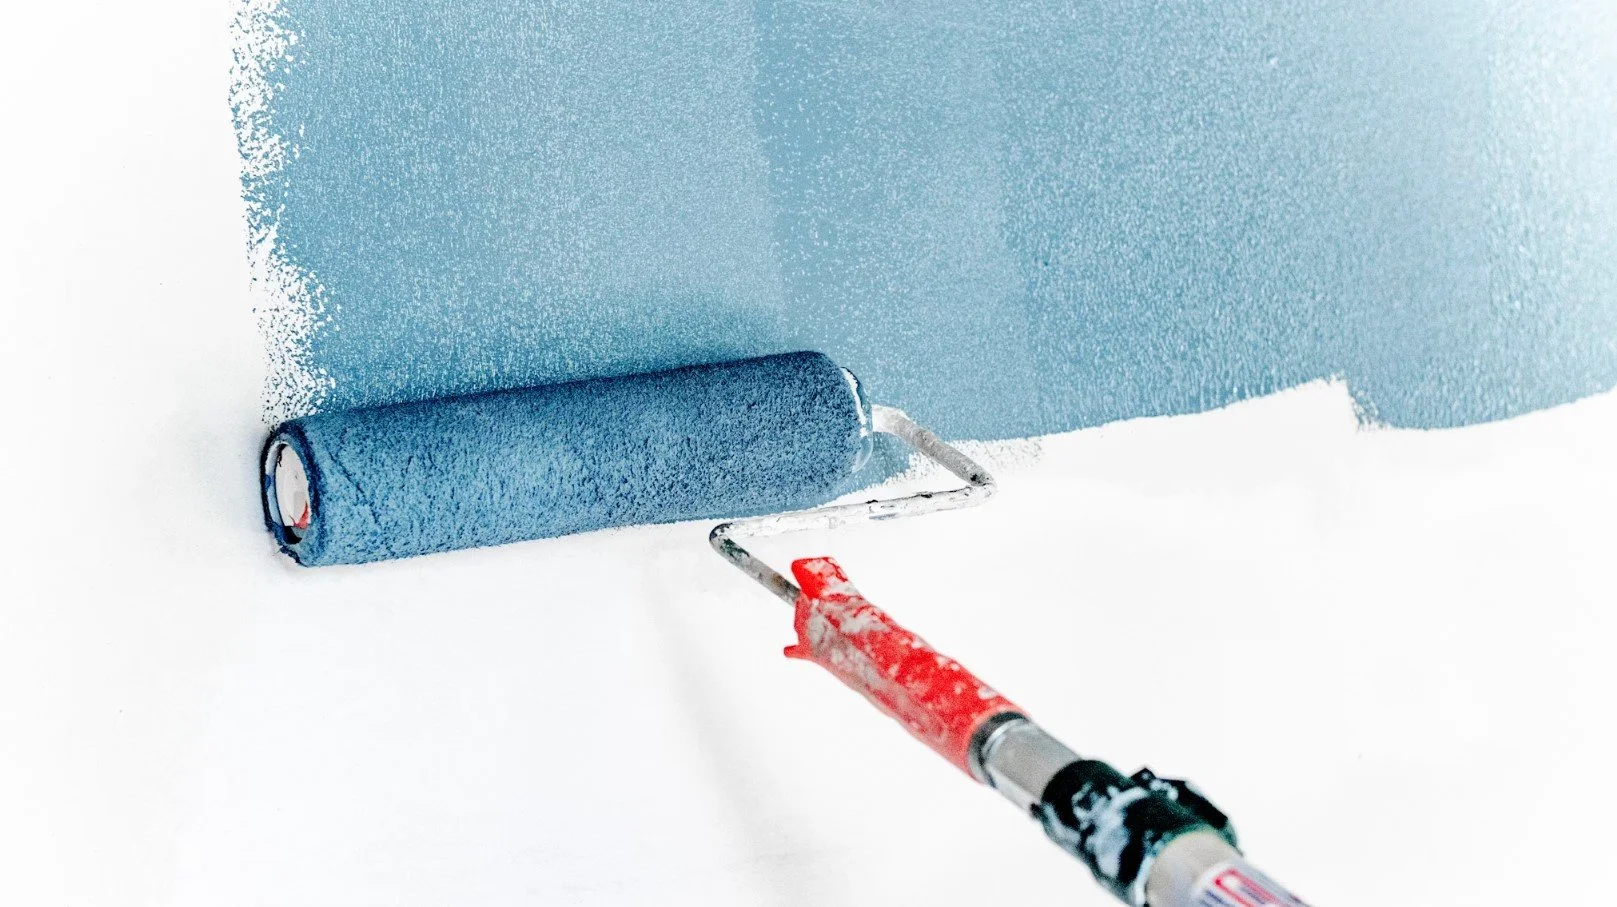
Primer is one step you definitely don't want to skip.
A quality bonding primer helps bridge the gap between the prepared wood and the new paint, improving adhesion and creating a more even finish.
Choose a primer designed for exterior wood if the project will be exposed to the weather. Apply it evenly according to the manufacturer's instructions, then allow it to dry completely before painting.
A properly primed surface gives the topcoat a much stronger foundation and helps reduce peeling later on.
Step 4: Paint With A Quality Exterior Paint
Once the primer has cured, you're ready to paint.
Use a high-quality exterior paint that's designed for wood surfaces.
Apply thin, even coats instead of trying to cover everything with one heavy application. Two lighter coats usually produce a smoother finish and hold up better over time.
Take your time around corners, joints, and edges since these areas often experience the most wear from weather exposure.
Step 5: Allow Proper Drying And Curing
After painting, resist the temptation to use the surface right away.
Paint needs time not only to dry but also to fully cure.
Depending on the paint you choose and the weather conditions, this can take several days or even a couple of weeks.
Also avoid placing furniture on freshly painted decks or exposing the surface to heavy traffic until the curing process is complete.
Giving the paint enough time now can significantly extend the life of your finish.
Bottom Line
Yes, you can paint over Thompson WaterSeal, but success comes down to proper preparation. Since the sealer is designed to repel water, it naturally makes it harder for paint to stick.
Cleaning the wood, sanding away the remaining sealer, applying a quality bonding primer, and allowing the paint to cure properly all help create a finish that lasts.
It may take a little extra effort before the first coat of paint goes on, but that preparation is well worth it.
A properly prepared surface gives you a smoother appearance, better durability, and far fewer headaches down the road.